
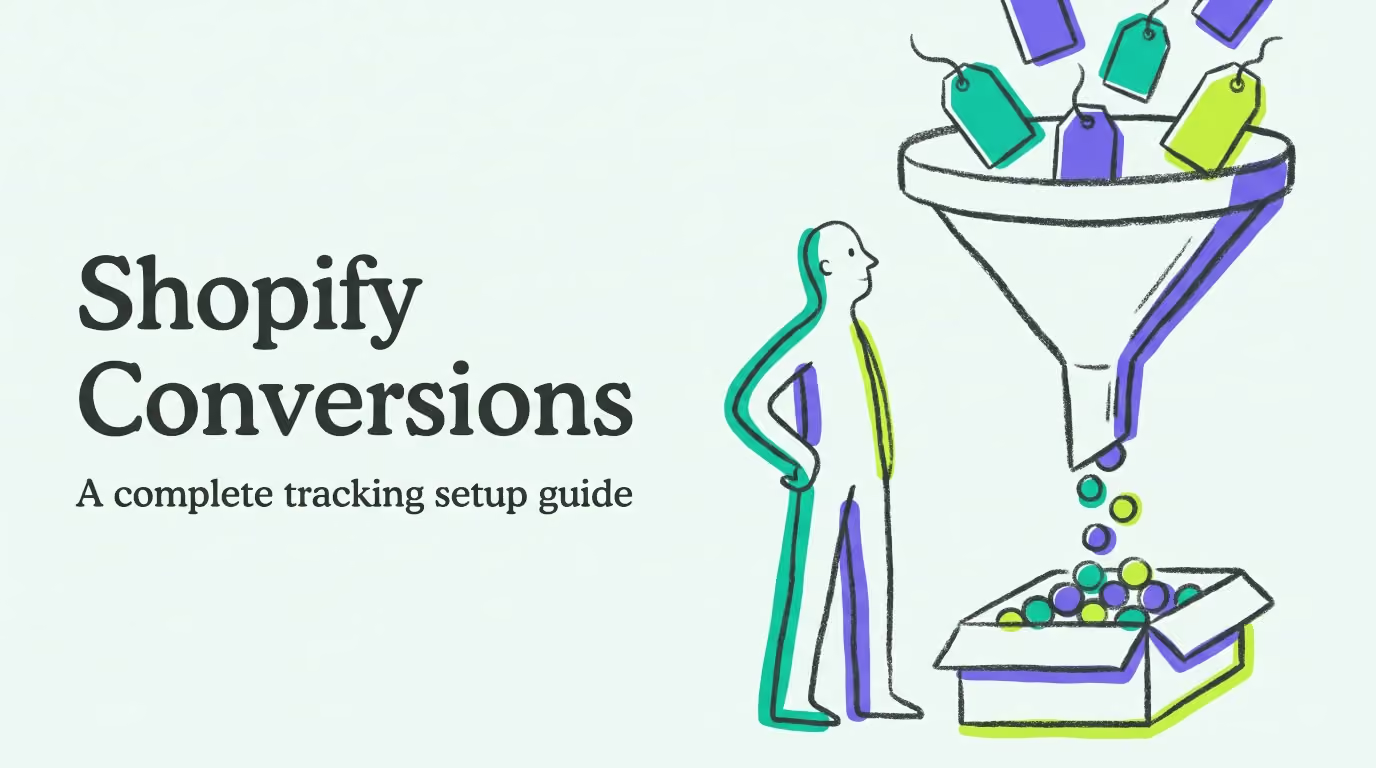

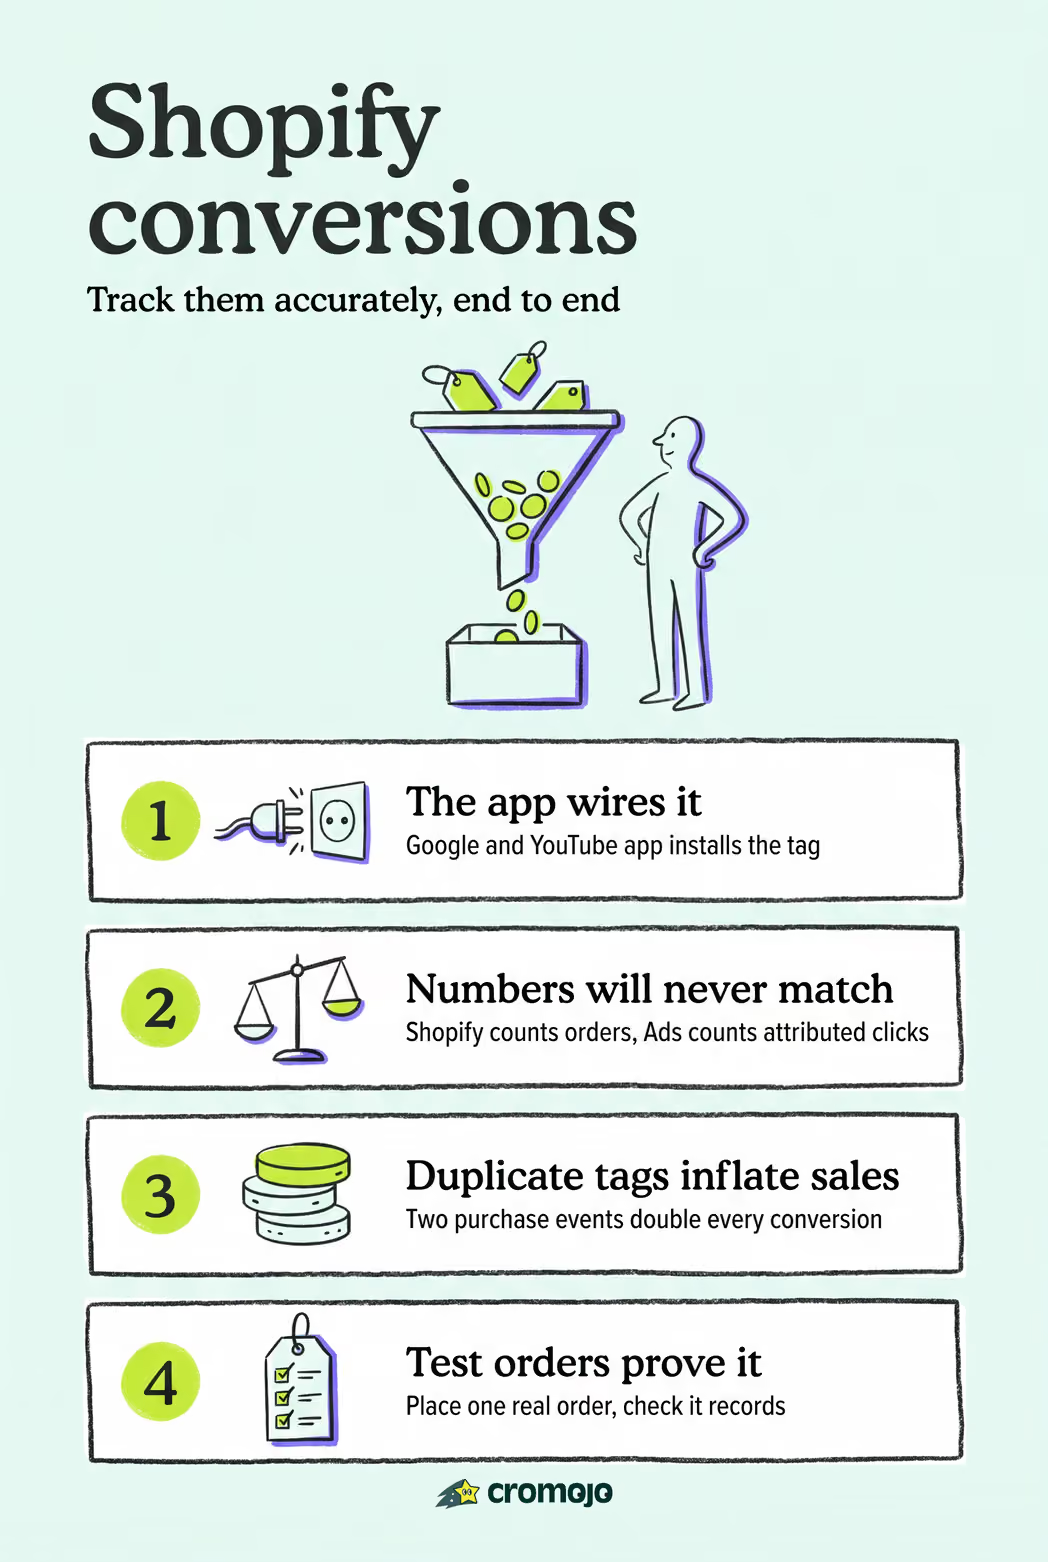
The fastest, most accurate way to set up Shopify conversion tracking for Google Ads is through the Google & YouTube app in Shopify's sales channels. It handles the Google tag automatically, creates conversion actions, and enables enhanced conversions without requiring you to touch a line of code. If you need custom event control or manage multiple tags, use Google Tag Manager instead.
Start here, in this order:
- Create a conversion action in Google Ads (choose "Website," set dynamic revenue values)
- Install the Google & YouTube app from Shopify's sales channels and connect your Google Ads account
- Enable enhanced conversions inside the app to pass hashed customer data
- Connect GA4 as a cross-check layer for funnel analysis and attribution comparison
Pro Tip:Before you install anything, confirm your Google Ads account currency matches your Shopify store currency. A mismatch here causes revenue values to report incorrectly, and fixing it later requires deleting and recreating conversion actions.
Key Takeaways
Accurate Shopify conversion tracking requires the right installation method, verified purchase events with dynamic revenue values, and enhanced conversions enabled from day one.
What does Shopify conversion tracking actually measure?
Google Ads conversion tracking records specific actions visitors take after clicking your ad. For a Shopify store, the conversion types that matter most are:
- Purchases (with dynamic revenue values, including transaction ID and currency)
- Add to cart (signals purchase intent for audience building)
- Begin checkout / initiate checkout (identifies drop-off in the funnel)
- Form submissions (newsletter signups, lead capture)
- Phone calls (click-to-call from ads or your site)
- Offline and local actions (in-store visits, imported CRM data)
Purchases should always carry dynamic revenue values, meaning the actual order total passes with each conversion event. Fixed values (e.g., "$50 per purchase") are only appropriate when your average order value is highly consistent. For most stores, passing the real transaction amount is what makes Smart Bidding work correctly, because Google's algorithm optimizes toward conversion value, not just conversion count.
GA4 and Shopify's native analytics overlap in some areas but serve different purposes. GA4 excels at funnel analysis and cross-device reporting. Google Ads native tracking updates faster and tends to be more accurate for bidding decisions. Shopify's order conversion summary is useful for order-level verification, but it is not a full analytics substitute and shows limited details when cookies are blocked or for headless storefronts.
Key distinction: Google Ads measures conversions attributed to ad clicks. Shopify's analytics counts all orders regardless of source. The two numbers will never match exactly, and that is expected.
Which setup method is right for your store?
Three installation paths exist for connecting Google Ads to Shopify. The right choice depends on your technical comfort, customization needs, and how many tags you manage.
When to use the Google & YouTube app: You run a standard Shopify checkout, want the fastest path to accurate purchase tracking, and do not need custom event logic.
When to go manual with the Google tag: You have a specific reason to control exactly where and how the tag fires, or your store uses a custom checkout flow that the app does not support cleanly.
When to use GTM: You manage multiple tracking pixels, need version control over tag changes, or want to add server-side event forwarding later without restructuring everything.
How to set up tracking using the Google & YouTube app
Shopify recommends the Google & YouTube app as the primary path for installing the Google tag, creating conversion actions, and enabling enhanced conversions. Here is the full walkthrough.
Pre-checks before you start
- Google Ads account with admin access and billing active
- Shopify admin access (owner or staff with full permissions)
- Currency in Google Ads matches your Shopify store currency
- GA4 property with a data stream already configured (for cross-checking)
Step-by-step installation
- In Shopify admin, go to Sales channels and click the + button. Search for "Google & YouTube" and add it.
- Open the Google & YouTube channel and click Get started. Sign in with the Google account that owns your Google Ads account.
- Connect your Google Ads account and, if relevant, your Merchant Center for Shopping feeds.
- Under Conversions, select the conversion actions you want to track: purchases (required), add to cart, begin checkout.
- The app installs the Google tag (global site tag) and conversion linker automatically across your storefront.
- Map revenue values: confirm the app is set to pass dynamic order totals, not a fixed value.
- Toggle on Enhanced conversions. This sends hashed email addresses and phone numbers to improve match rates when cookies are unavailable.
- Click Save and proceed to verification.
Pro Tip:After connecting the app, go to Google Ads → Tools → Conversions and confirm your new conversion actions appear with the status "No recent conversions." That status is expected before your first test purchase. If the action shows "Inactive," the tag is not firing.
Verification after setup
- Place a real test order on your store (use a discount code to minimize cost)
- Open Google Ads conversion status under Tools → Conversions → Summary
- Check that the purchase conversion action shows "Active" or "Recording conversions"
- Install the Chrome extension Tag Assistant and browse your store to confirm the Google tag fires on product pages and the conversion event fires on the order confirmation page
Common app pitfalls
- Wrong Google account connected: The app connects to whichever Google account you sign in with. If your Google Ads account lives under a different Google login, you will link the wrong account.
- Currency mismatch: Shopify reports in your store currency; Google Ads must match. Verify both before going live.
- Duplicate tags: If you previously added the Google tag manually to Shopify's "Additional scripts" field, remove it before enabling the app. Two tags firing the same event doubles your reported conversions.
How to install the Google tag or GTM manually
Manual installation gives you full control but requires careful event mapping. Use this path when the app does not fit your checkout setup or when you need GTM's tag governance features.
Creating the conversion action in Google Ads
- In Google Ads, go to Tools → Conversions → New conversion action.
- Choose Website as the conversion source.
- Set the category to Purchase and the value to Use different values for each conversion (dynamic revenue).
- Set the conversion window (30 days is standard for most ecommerce stores).
- Enable Enhanced conversions for web in the conversion action settings.
- Copy the Google tag ID (format: G-XXXXXXXXXX or AW-XXXXXXXXXX).
Installing via the global site tag
In Shopify admin, go to Settings → Customer events (the current recommended location for custom pixels). Paste your Google tag in the custom pixel editor. For the purchase event, you must pass transaction_id, value, and currency in the event payload. Shopify's Customer Events sandboxing can block older script injection methods, so using the Customer Events interface is the reliable path.
Installing via Google Tag Manager
- Add your GTM container snippet to Shopify via Customer Events or the theme's
theme.liquidfile (before</head>). - In GTM, create a Google Ads Conversion Tracking tag and a Google Ads Remarketing tag.
- Build a Data Layer trigger that fires on the
purchaseevent and passesecommerce.transaction_id,ecommerce.value, andecommerce.currency. - Map
add_to_cartandbegin_checkoutevents the same way for audience building. - Publish the GTM container and test in Preview mode before going live.
Pro Tip:Always pass a unique transaction_id (Shopify's order number works) with every purchase event. This is the deduplication key. Without it, refreshed confirmation pages or server-side retries can count the same order twice.
Quick debugging checklist
- Tag Assistant shows the Google tag firing on every page
- The purchase event fires only on the order confirmation page, not on every checkout step
- The event payload includes
value(numeric, not a string),currency(ISO code), andtransaction_id - No duplicate tag IDs appear in Tag Assistant's tag list
How do you test and verify that conversion tracking is working?
Testing is not optional. A tag that appears installed can still fail to fire on Shopify's sandboxed checkout pages, pass the wrong currency, or double-count events.
Testing methods
- Real purchase test order: The most reliable method. Place an actual order, then check Google Ads → Conversions → Summary within 3 hours. The conversion status page shows whether the action recorded.
- Tag Assistant: The Chrome extension from Google shows which tags fired, what data they sent, and flags configuration errors in real time.
- Google Ads diagnostics: Under Tools → Conversions, each conversion action has a status indicator. "No recent conversions" means the tag is installed but untested. "Inactive" means the tag has not fired in 7 days.
- GA4 cross-check: Compare purchase event counts in GA4 with Google Ads conversions for the same date range. Differences are normal (attribution model differences), but large gaps signal a tracking problem.
Common issues and fixes
- Duplicate events: Running both the Google & YouTube app and a manually placed tag fires two events per purchase. Remove one. If you use server-side forwarding alongside a browser pixel, deduplicate using a shared
event_id. - Missing revenue values: The conversion records but shows $0. The
valueparameter is not passing. Check the event payload in Tag Assistant. - Wrong currency: Revenue records in the wrong currency when Shopify and Google Ads currencies differ. Fix the currency setting in Google Ads before the next conversion fires.
- Events not firing on checkout: Shopify's sandboxed checkout environment blocks some script injection methods. Use the Customer Events interface or the Google & YouTube app, which is built to work within Shopify's checkout sandbox.
- Third-party checkout apps: Apps that replace Shopify's native checkout (subscription apps, custom payment flows) may not trigger the standard purchase event. Test explicitly after installing any checkout-modifying app.
Shopify's sales reports update approximately every minute, making them a useful near-real-time reference when reconciling order counts against Google Ads conversion data.
How to read your conversion data and improve campaign performance
Once tracking is verified, the data becomes your primary tool for conversion rate optimization and bid management.
Metrics that matter
- Conversion rate: Conversions divided by clicks. For ecommerce Google Ads campaigns, a rate between 1% and 4% is typical, though this varies widely by category and traffic quality.
- Cost per conversion: Total spend divided by conversions. Compare this against your product margin, not just your average order value.
- Conversion value / ROAS: Total revenue from conversions divided by ad spend. This is the number Smart Bidding optimizes toward when you use Target ROAS bidding.
- Value per conversion: Average revenue per conversion event. Useful for spotting campaigns that drive low-value orders despite high conversion counts.
Attribution models and why they change your numbers
Google Ads offers several attribution models: last click, first click, linear, time decay, and data-driven. Data-driven attribution is the default for accounts with sufficient conversion volume and tends to distribute credit more accurately across the customer journey. Last-click attribution, by contrast, gives all credit to the final ad click before purchase, which often undervalues upper-funnel campaigns like display or YouTube.
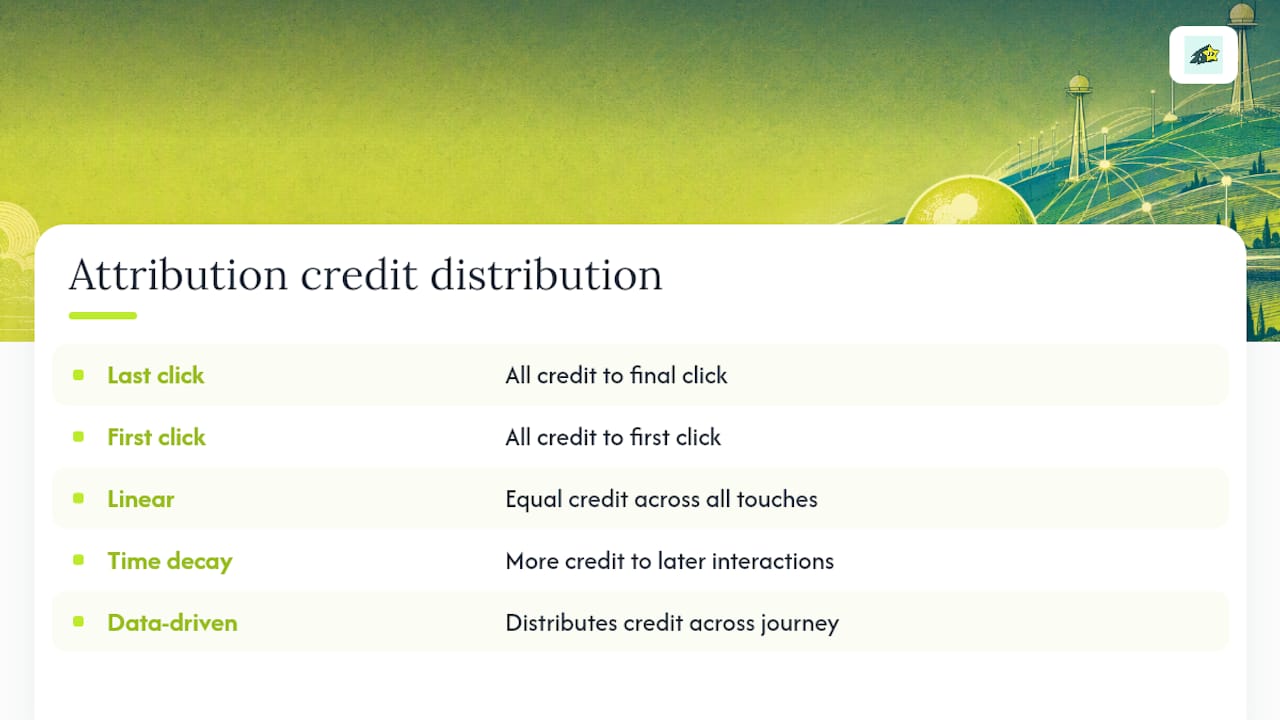
Switching attribution models changes which campaigns appear profitable. Before adjusting bids based on conversion data, confirm which model is active for each conversion action.
Practical optimization steps
- Build remarketing audiences from
add_to_cartandbegin_checkoutevents. These are your highest-intent visitors. - Set your primary purchase conversion action as the campaign goal for Smart Bidding. Secondary actions (add to cart) should be set as "observation only" to avoid diluting the bidding signal.
- Use keyword-level conversion data to identify which search terms drive actual purchases versus clicks that never convert. Adjust bids or add negatives accordingly.
- Review conversion drop-off patterns by funnel stage. A high add-to-cart rate with low purchases points to a checkout problem, not an ad problem.
Why server-side and cookieless attribution are becoming necessary
Browser-side tracking is losing signal. Safari's Intelligent Tracking Prevention, Firefox's enhanced privacy defaults, and ad blockers all intercept client-side tags before they fire. The result is underreported conversions, which causes Smart Bidding to underspend on campaigns that are actually performing well.
How server-side tracking solves signal loss
Server-side event forwarding sends conversion data directly from your server to Google's API, bypassing the browser entirely. The event fires regardless of whether the visitor has an ad blocker or a privacy-focused browser. For purchase events specifically, server-side forwarding combined with a browser-side pixel (with deduplication via event_id) gives you the most complete picture.

Enhanced conversions address a related problem. When a visitor's cookie is missing or expired, enhanced conversions use hashed customer data (email address, phone number) to match the conversion back to an ad click. Google's matching happens server-side, so the hashed data never exposes raw personal information.
When to implement server-side tracking
- Your Google Ads spend exceeds the point where a 10-15% attribution gap meaningfully affects bidding decisions
- You run cross-channel campaigns (Meta, TikTok, Google) and need a unified event source
- You operate a Shopify Plus or enterprise store with custom checkout flows that browser pixels cannot reliably cover
Shopify's enterprise guidance notes that consolidating sales-channel data into a unified real-time model can reduce total cost of ownership by up to 37%. That figure reflects the operational cost of managing fragmented data sources, not just the ad spend efficiency gain.
Privacy compliance note: Server-side tracking and enhanced conversions must still comply with GDPR, CCPA, and equivalent regulations in your market. Obtain consent before sending any personal data (even hashed) to ad platforms. Cookieless tracking methods reduce, but do not eliminate, your compliance obligations.
A practical perspective on sequencing your setup
Most stores overcomplicate this process. The Google & YouTube app gets you to accurate purchase tracking in under 30 minutes, and for the majority of Shopify stores running standard Google Ads campaigns, that is genuinely sufficient. The instinct to immediately layer in GTM, server-side forwarding, and custom data layers before verifying that basic purchase tracking works is one of the most common mistakes I see.
The right sequence is: app first, verify with a real test order, confirm enhanced conversions are active, then assess whether your attribution gaps justify additional investment. Small stores spending under a few thousand dollars per month on Google Ads rarely need server-side tracking on day one. The signal loss from browser-side tracking at that scale does not meaningfully distort bidding decisions.
Scaling stores are different. At that point, you also want keyword-level revenue mapping, not just campaign-level ROAS, to understand which search terms are actually driving margin.
Cromojo's revenue attribution analytics fills that gap for stores that have outgrown what Google Ads reporting alone can show them.
Real-time revenue attribution for stores that require more than Google Ads reporting
Google Ads conversion tracking tells you which campaigns convert. It does not tell you which keywords, pages, or traffic sources drive actual revenue across your full funnel, in real time, with cookieless accuracy.
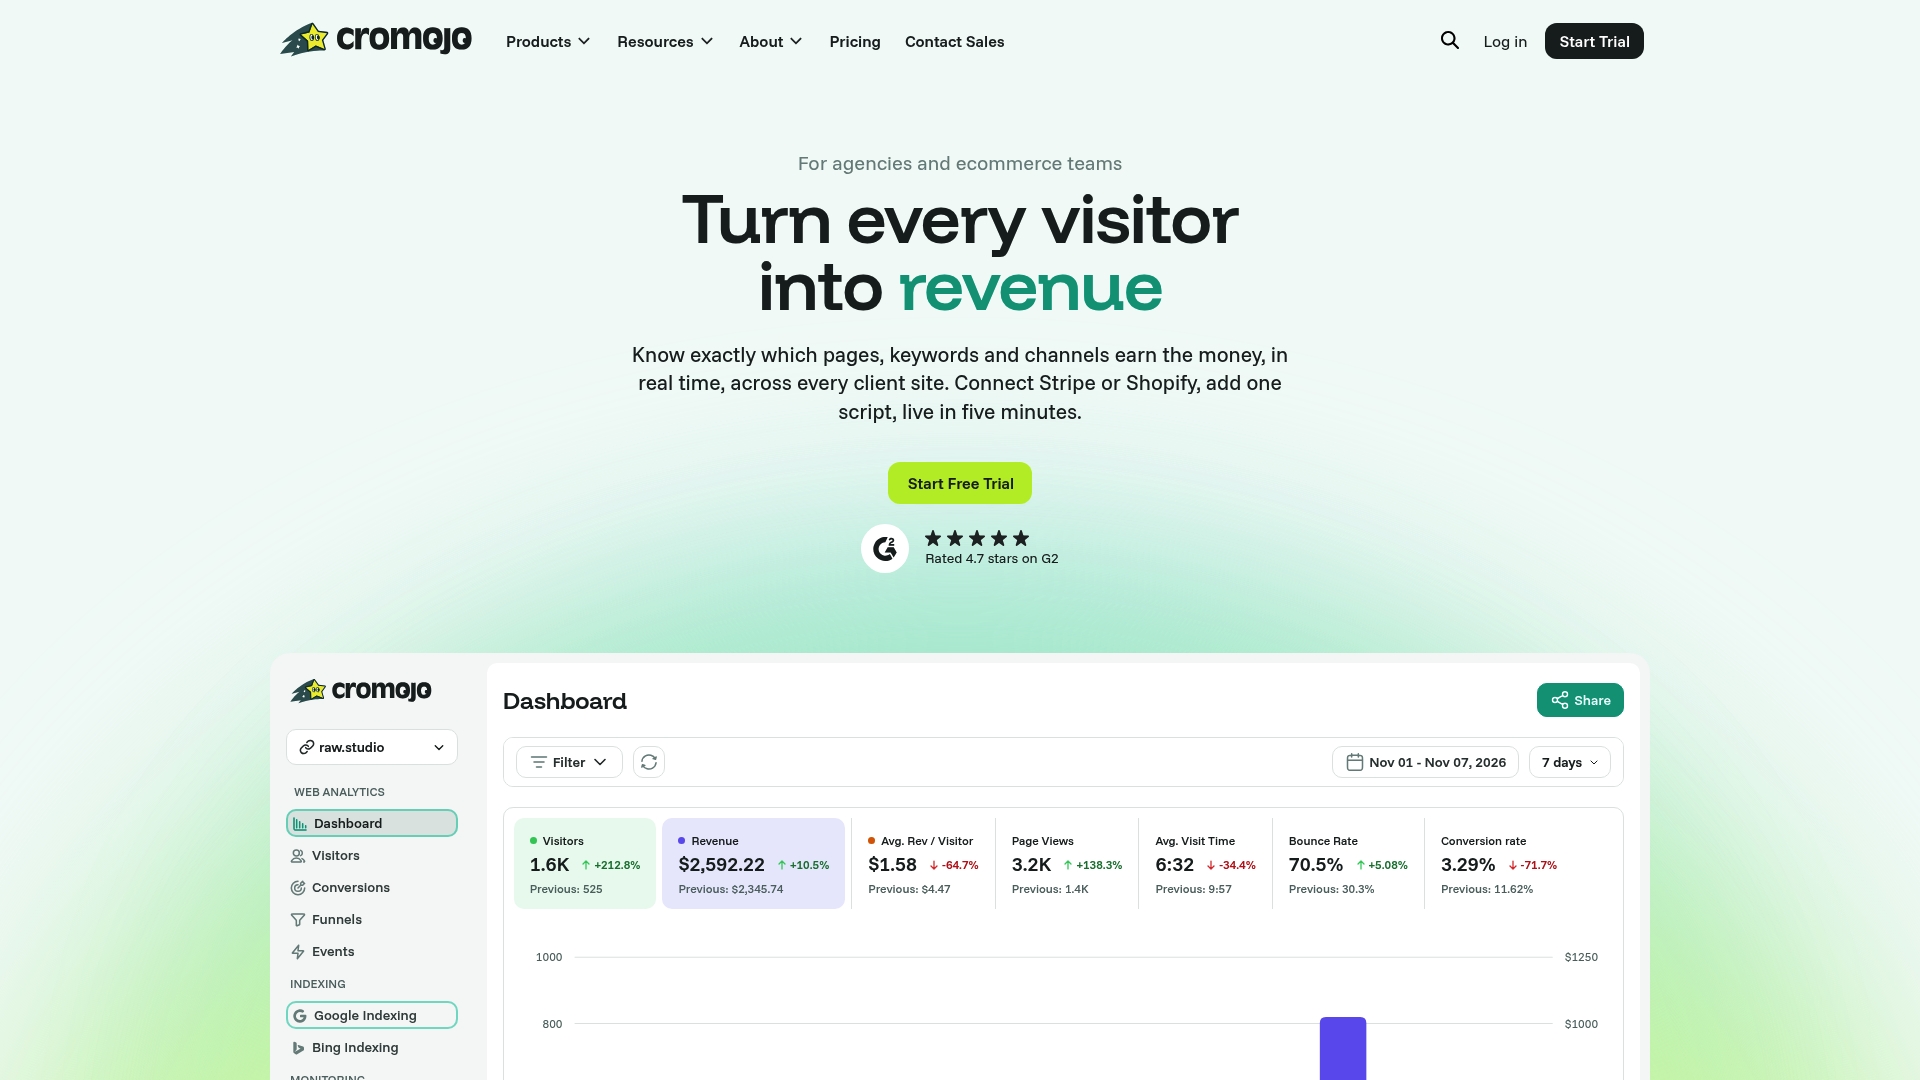
Cromojo connects directly to Shopify and attributes real revenue to every keyword, page, and marketing channel, without relying on third-party cookies. For multi-channel stores and agencies managing several Shopify clients, that means one dashboard showing actual sales by source, not just click and conversion counts. The platform's cookieless tracking keeps your data complete even as browser privacy restrictions tighten, and its Shopify integration requires no developer time to set up.
Stores that have verified their Google Ads conversion tracking and want the next layer of clarity, keyword-level revenue, visitor journey analysis, and consolidated channel reporting, are exactly who Cromojo is built for. Start a free trial at Cromojo's revenue analytics page and see which channels are actually earning their budget.