
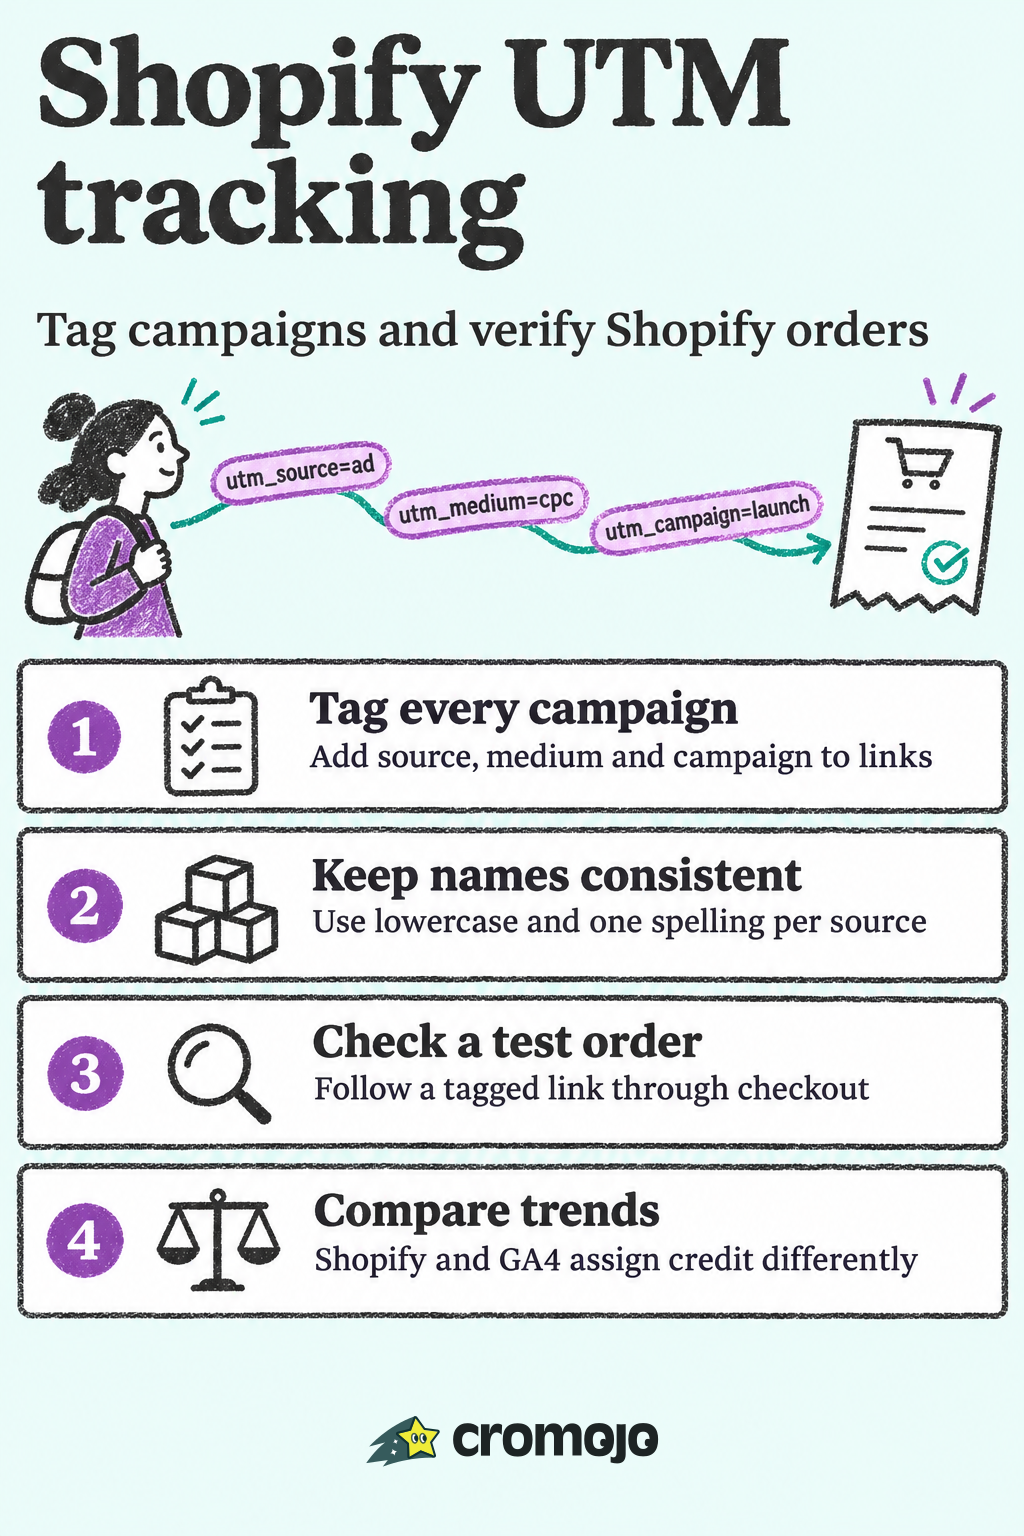
Shopify UTM tracking comes down to three steps. Tag every campaign link with utm_source, utm_medium and utm_campaign. Keep the names identical across channels. Then check the result on the order itself and in your analytics reports. Most "broken" tracking is not a bug. It is inconsistent naming, links that lose their parameters on the way to checkout, or two tools that count credit by different rules.
This guide walks through each of those points for a store owner or marketer, with the checks that tell you which one you are dealing with.
What UTM parameters do on a Shopify store
UTM parameters are short tags added to the end of a URL. When a shopper clicks the link, the tags tell your analytics where the visit came from and which campaign sent it. Shopify's own guide to UTM parameters lists the core set: source, medium and campaign should travel together, with content and term as optional extras.
Here is how the five parameters are best used on a store:
The example values above follow the pattern recommended by JAAX Labs in its Shopify UTM guide.
A tagged link looks like this:
https://yourstore.com/products/trail-shoe?utm_source=klaviyo&utm_medium=email&utm_campaign=bfcm_2026&utm_content=hero_button
The shopper lands on the product page as usual. The tags ride along in the background.
Naming rules that keep your reports clean
The most common reason campaign reports look messy is that the same thing is spelled three ways. Fix this before you tag a single link.
- One value per platform. Choose
facebookorfb, never both. JAAX Labs recommends picking a single value per platform and sticking to it. - One casing rule. Shopify's guide notes that values are case-sensitive, so
Emailandemailbecome two rows. Use lowercase with underscores everywhere. - The same campaign name across channels. If a spring promotion runs on email, paid social and search, give all three the same
utm_campaign. Otherwise one campaign's results are split across several rows. - A year in recurring names. Reusing
summer_saleeach year merges two different campaigns.summer_sale_2027keeps them apart. - GA4-friendly mediums. Standard values such as
cpc,email,social,affiliate,referralanddisplayare more likely to land in the channel group you expect in GA4. One setup guide recommends standardizingutm_mediumto those values.
Build links from a shared sheet
The simplest control is a central UTM builder spreadsheet. Give it dropdown lists for sources and mediums so everyone on the team picks from the same vocabulary. JAAX Labs describes this controlled-vocabulary approach as the way to stop drift between teammates, freelancers and agencies.
A starter layout:
- Column A: destination URL
- Column B: source (dropdown)
- Column C: medium (dropdown)
- Column D: campaign (free text, lowercase, with year)
- Column E: content and term (optional)
- Column F: the finished link, built with a formula
How to set up UTM tracking in Shopify
Shopify does not need a plugin for basic UTM capture. The work is in tagging links and confirming they arrive.
Step 1: Tag the links you control
Create tagged URLs for every email, ad, social post, influencer link and affiliate link you send. Shopify's guide says to use source, medium and campaign in your campaign URLs, and notes that Shopify Campaigns can generate shareable links with extra UTM parameters.
Step 2: Match sessions to a Shopify campaign (optional)
If you use Shopify Campaigns, you can set auto-match rules. According to Shopify's Help Center, you can create a rule from any combination of UTMs, such as campaign and source. When a session arrives with those parameters, it is matched to the campaign and additional landing-page parameters are ignored. So keep your auto-match rules and your naming sheet in agreement.
Step 3: Place a test order and inspect it
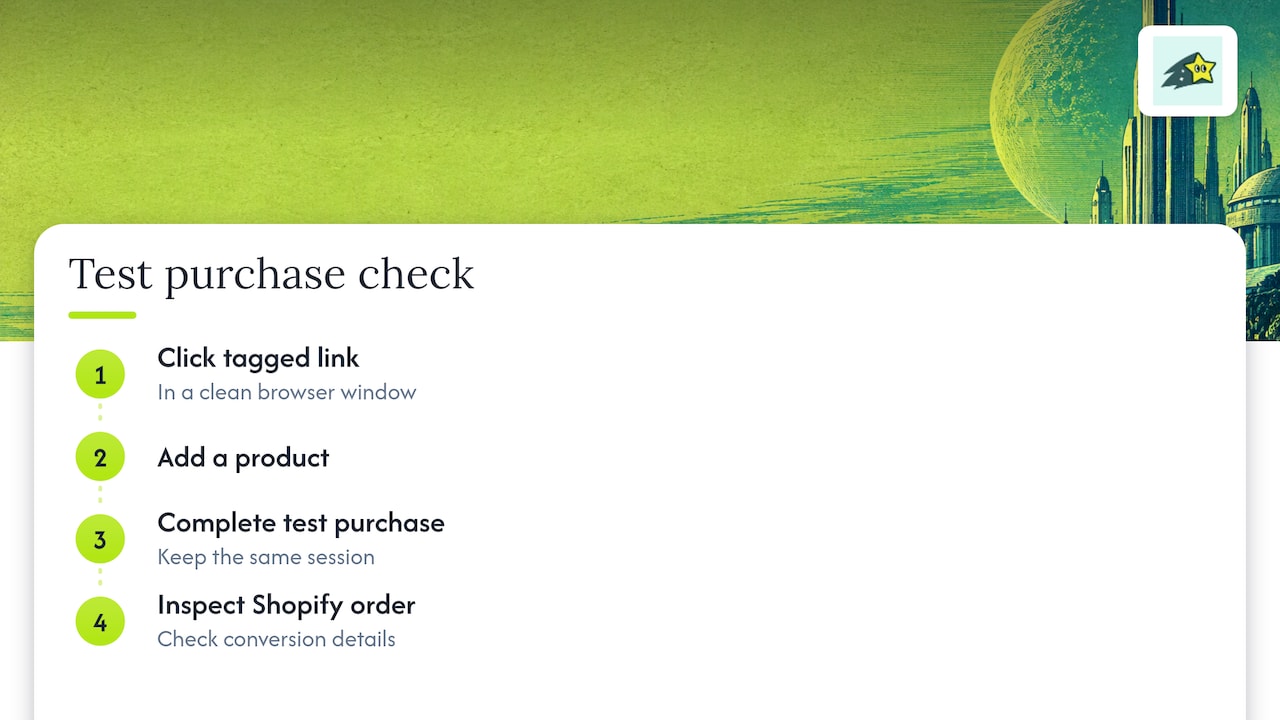
Click one of your own tagged links in a clean browser window, add a product, and complete a test purchase in the same session. Then open the order in Shopify admin and look at the conversion details. Shopify's guide says to inspect the order's conversion details for available UTM information. When the shopper clicks a tagged link and buys in the same session, the campaign data can be stored on the order record, as described in this setup guide.
Step 4: Confirm the data in your analytics
Check two places: Shopify's own reports and GA4. Both are covered next.
Where to see UTM data in Shopify and GA4
In Shopify, UTM-tagged traffic shows up in reports such as sessions by referrer and the marketing reports, per Craftshift's walkthrough. Individual orders carry their source in the conversion summary.
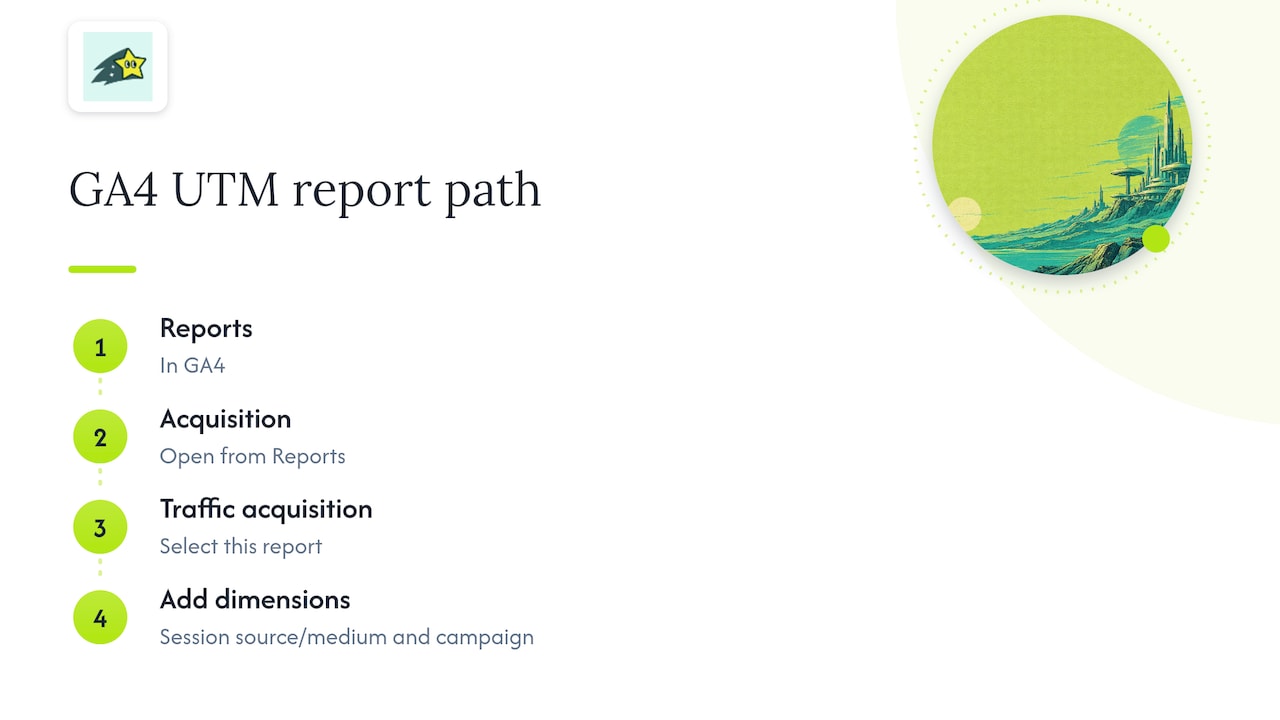
In GA4, UTMs populate the session source, medium and campaign dimensions. Go to Reports, then Acquisition, then Traffic acquisition, and add dimensions such as Session source/medium and Session campaign. UTM.io describes this exact path. If you are new to reading those reports, this explainer on where traffic appears in GA4 acquisition reports shows how to interpret the session dimensions.
If a tagged click does not appear within a day or so, check the link first. A missing utm_medium or a stripped query string is far more likely than a GA4 fault.
Why Shopify and GA4 report different campaign results
This is the question behind the "Shopify analytics vs GA4" debate. The honest answer is that the two systems measure different things in different ways.
The window and model details come from UTM Tool's comparison of where campaigns show in Shopify and GA4. COREPPC explains the root cause in its Shopify UTM guide: Shopify tracks the source of a session and may store UTM values on the order if the purchase happens in that same session, while GA4 uses different windows and models. So the two can disagree about which campaign earned the sale.
Why you should not expect exact matches
Shopify answers "how many orders and how much revenue." GA4 answers "what did browsers do, and which rule gets credit." Browser privacy restrictions and ad blockers can cause GA4 to undercount, so comparing trends and ratios beats comparing absolute numbers. If you want a plain-language look at why attribution models and lookback windows change the credit, this guide to setting up Google Analytics for a small business is a good companion.
A practical reconciliation routine
To deduplicate and reconcile rather than argue, follow the workflow COREPPC describes:
- Export a 7-day window of Shopify orders with source, medium, campaign and order totals.
- Pull the same window from GA4 in Traffic acquisition by source/medium.
- Compare both against the purchase events in Meta Ads Manager and Google Ads.
- When the gap exceeds the threshold you set, inspect the mismatched orders one by one.
The workflow is described in COREPPC's guide. Set the threshold in advance, for example a percentage difference you are willing to live with, so the review is a routine and not a debate.
What "UTM deduplication" means in practice. There is no single switch. In practice it means making sure each order is credited to one campaign in the report you use to decide budgets. You get there by choosing one system of record for revenue, using consistent naming so the same campaign is not split into variants, and checking orders that appear under two sources.
Where UTMs get lost
When the numbers are wrong, the cause is usually one of these.
Inconsistent or incomplete tags
Craftshift lists the usual suspects: inconsistent capitalization, forgetting utm_medium, tagging internal links, redirects that strip query strings, and reusing a campaign name across years. Never put UTMs on links between pages of your own store. A tagged internal link starts a new session with a new source and overwrites the real one.
Shopify Messaging defaults
Shopify's email tool uses its own defaults: source shopify_email, medium email, and a campaign built from the email name plus an activity ID. Ocontis explains how this splits campaign rows in GA4. If you want one clean campaign name, override the defaults before sending.
Buy Buttons and embedded checkouts
How UTMs pass through a Buy Button depends on its action setting. One guide says to use "Add product to cart" to carry UTMs to the cart and then checkout, or "Direct to checkout" to pass them straight to checkout. Test whichever you choose with a real tagged click.
Headless storefronts
Headless setups are the hardest case. A Shopify community thread reports that UTMs appended to a Storefront API checkout URL are stripped on redirect, with no official workaround in the thread. A js-buy-sdk issue suggests that adding UTM parameters to a cart and checkout permalink can work, where passing them to an API-built checkout URL may not. In headless flows, capture the UTMs on landing and attach them to the cart or order yourself.
A broken chain to the order
Shopify's native attribution relies on a storefront session cookie linking the first visit to the finished order. If that link breaks, the conversion summary can be blank even when UTMs were present at checkout.
GA4 purchase events with no currency
On the GA4 side, purchase revenue can show as $0 when the currency parameter is missing. COREPPC notes that GA4 needs both value and currency on purchase events. Missing or undercounted purchase events also make GA4 conversions look lower than Shopify's.
A troubleshooting checklist
Work through this in order when a campaign looks wrong:
- Open the live link. Are all three core parameters present and spelled as in your sheet?
- Click it through every redirect (link shortener, ad platform, landing app). Does the full query string survive?
- Place a test order in the same session and check the order's conversion details.
- Check GA4 Traffic acquisition for the same source/medium and campaign.
- Confirm the purchase event fires with value and currency.
- Look for internal links carrying UTMs, and for variant spellings of the same source.
- Compare the 7-day order export against GA4 and the ad platforms.
Our perspective: tag for revenue, not just visits
We built Cromojo around a simple observation: most store owners tag their links well enough, then still cannot say which keyword or page actually paid for itself. Sessions are easy to count. Revenue is what you act on.
That is why we designed Cromojo to connect directly to Shopify and Stripe and show revenue by keyword, page and channel in real time. Your UTM discipline still matters, because clean source, medium and campaign values are what make those channel views readable. Our aim is that once the tagging is in place, you do not need to export spreadsheets to see what is working.
We also chose cookieless, privacy-first tracking that needs minimal setup on any tech stack, so you spend your time on campaigns and not on tag management. Our agents watch performance continuously and flag the specific gaps that hold conversions back, with recommendations you can act on the same day.
See revenue by campaign in Cromojo
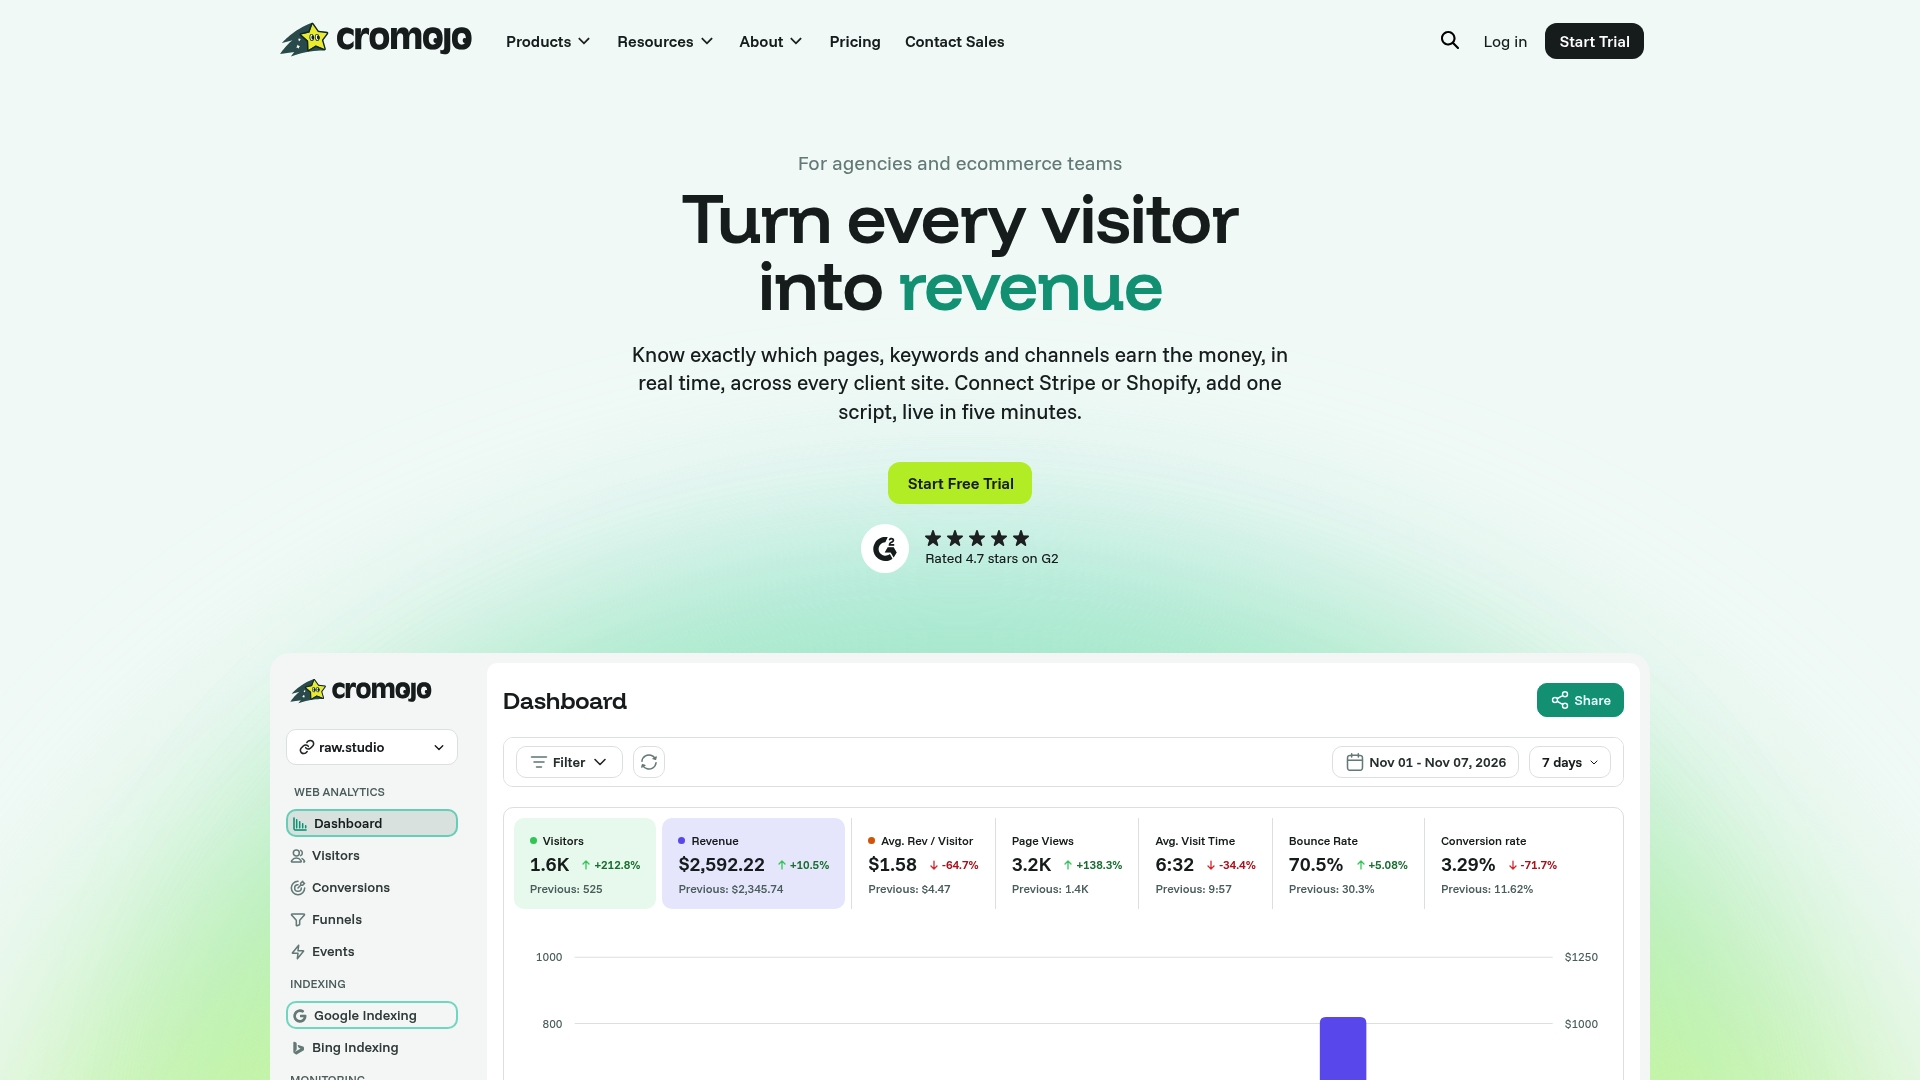
Once your links are tagged consistently, Cromojo can show you the revenue behind them. Revenue Analytics attributes revenue by keyword, page and channel, with integrations for Shopify, Stripe and Google Search Console. Real-time Analytics shows what is happening on your store as it happens.
Plans are tiered by pageviews and tracked sites. Starter is $19 per month, Pro is $49 per month, Business is $129 per month and Agency is $299 per month, and there is also a Free Plan. See the details on the Cromojo pricing page. Agencies managing several stores can track each client site under one account, and Website Monitoring helps you catch downtime and errors that quietly break campaign landing pages.