

Shopify already creates an image sitemap for your store, and you do not have to build one. Every store generates a sitemap.xml at its root domain, and the product entries in it carry the primary product image. What decides whether your images show up in Google Images is how well the product pages are built and whether Google actually crawls them. Our approach is to submit the sitemap once, then watch which pages get indexed and which of them earn revenue.
What a Shopify image sitemap is
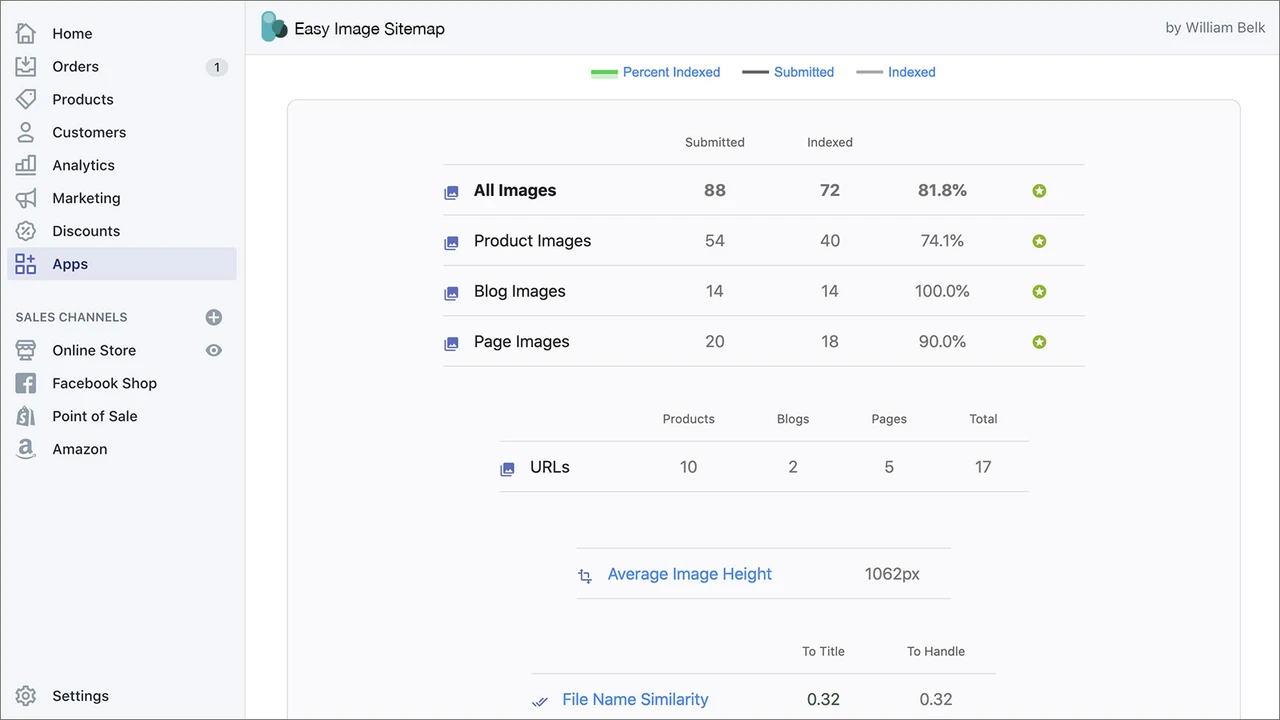
A sitemap is a file that lists the URLs you want search engines to know about. An image sitemap adds the image URLs that belong to each page. Shopify's own guide describes it as a list of the image URLs on your site that helps search engines crawl and index them for image search, and notes it is especially useful in visual categories such as fashion, beauty and home décor.
Google's documentation explains the purpose: image sitemaps tell Google about images it might not otherwise find, for example images loaded through JavaScript. You can use a separate image sitemap or add image tags to the sitemap you already have. Google treats both as fine.
The technical shape is simple. Each page URL is followed by one or more image:image entries, and each of those holds an image:loc tag with the image address. Per Google, each url entry can contain up to 1,000 image:image tags, each with an image:loc tag for one image URL. The image URL is the only required field. You will not write this by hand on Shopify, but it helps to recognize it when you open the file.
Where to find your Shopify sitemap URL
The address is always your root domain plus /sitemap.xml. Shopify's Help Center says each store generates it automatically and links it to separate sitemaps for products, collections, blogs and pages. When you add or remove content, the file updates itself.
Open yourstore.com/sitemap.xml in a browser and you will see a sitemap index, meaning a file that points to child files. In practice the children are named along the lines of sitemap_products_1.xml and sitemap_collections_1.xml. Open the products file and look for the image lines under a product URL. If you see an address on cdn.shopify.com, that is your image, hosted on Shopify's content delivery network (CDN), a network of servers that delivers files quickly.
Two details worth knowing:
- The path is fixed. You cannot move or rename it.
- A product appears only if it is active and published to the Online Store sales channel, as Shopify's XML sitemap guide explains. If a product is missing from the file, check those two settings first.
What the native sitemap includes and what it leaves out
Shopify's sitemap includes the product URL and the product's primary image, which is the first image in the product's media. Collections get their own entries, and so do pages and blog posts.
That has a practical consequence. Gallery shots, alternate angles and variant photos are not each listed as separate sitemap entries. This sounds like a gap, but it is less serious than it looks. Google finds images in the src attribute of <img> elements on the page, even when they are nested inside other elements. If your theme renders the gallery as normal image tags, Google can discover those images from the product page itself, with or without a sitemap line.

Where the sitemap does matter is images Google cannot see in the page code. Google's guidance is clear that it does not index CSS background images. A gallery built entirely from CSS backgrounds or loaded in a way crawlers do not render is the real risk, and no sitemap fully repairs that.
A quick decision guide
| Your situation | What to do |
|---|---|
| Standard theme, products with a few photos | Submit the native sitemap.xml and focus on alt text and filenames |
| Gallery built with a page builder or custom sections | Check the rendered page for real src |
| Visual catalog where image search drives sales | Track image-search clicks in Search Console and consider a custom image sitemap |
| Images on a separate domain | Verify both domains in Search Console and make sure robots.txt does not block them |
That last row comes from Google: image URLs on a different domain are allowed as long as both domains are verified in Search Console and robots.txt does not disallow the content.
How an image sitemap differs from an HTML sitemap
People often mix these up. An XML image sitemap is a machine-readable file for crawlers. An HTML sitemap is a normal web page with links, built for visitors who want to browse your structure. HubSpot's sitemap guide makes the same split: HTML sitemaps are user-facing navigation, while XML sitemaps exist purely for crawling and indexing.
For a store, the XML file does the indexing work. An HTML sitemap can help shoppers and add internal links, but it does not tell Google about your images.
How to submit your sitemap to Google Search Console
Submission is a one-time task. Shopify's Help Center lists the steps:
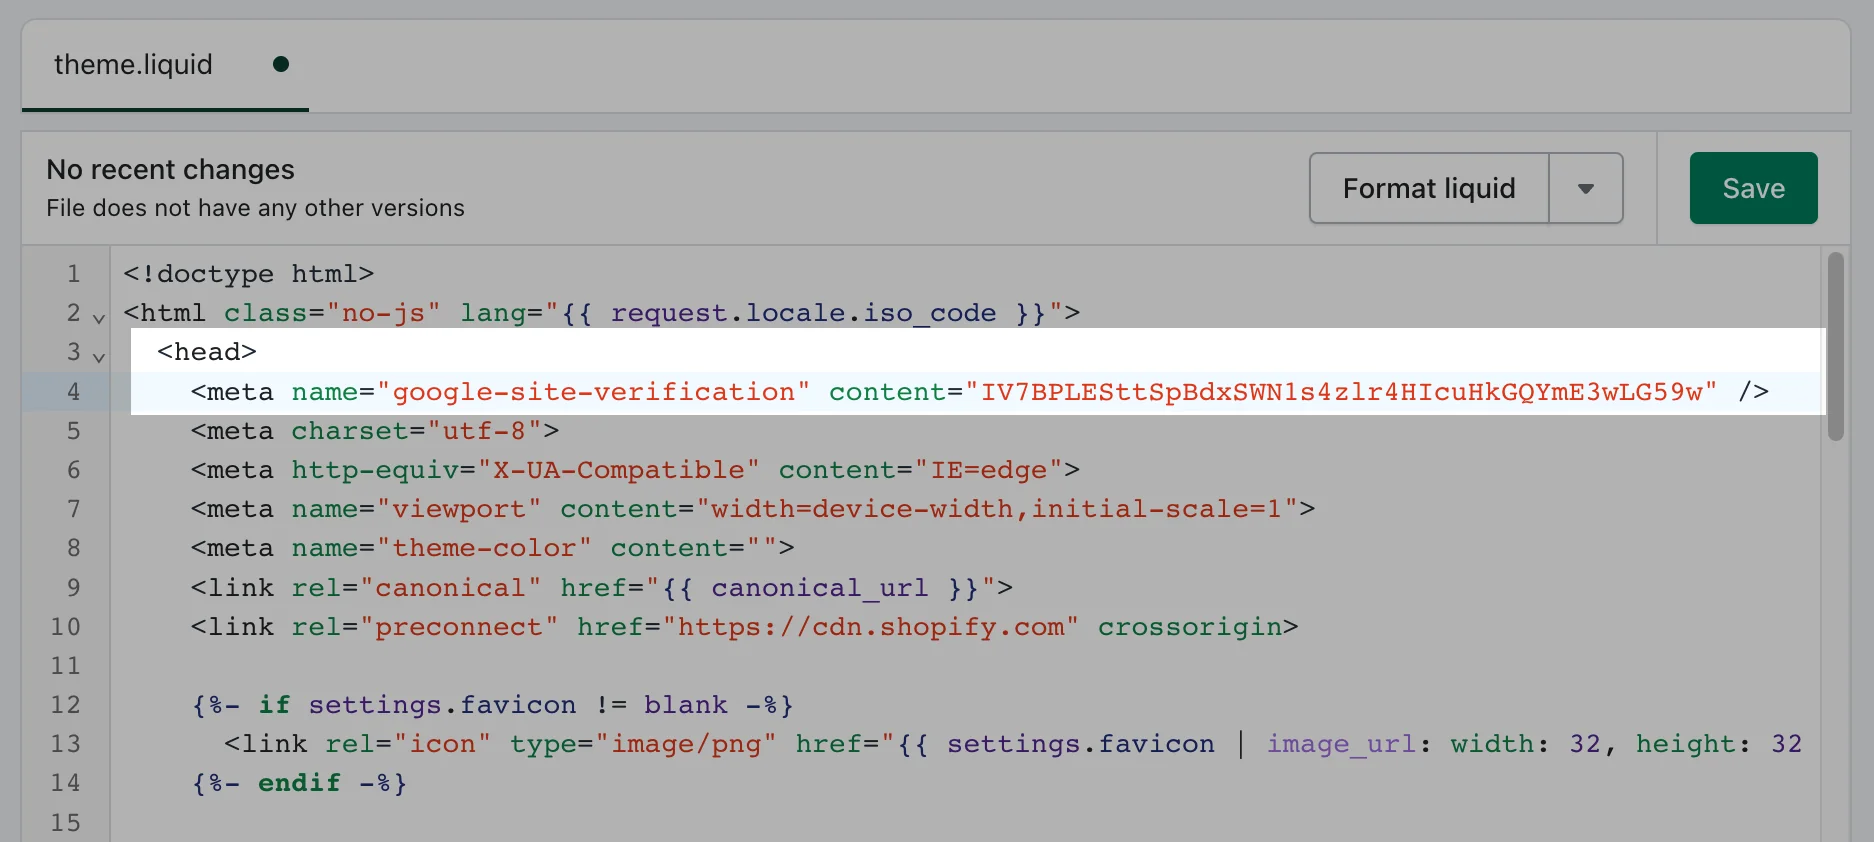
- Verify your store in Google Search Console. A DNS record on your root domain is the most reliable method for a Shopify store.
- Make sure the store is not in private mode or password-protected, because Google cannot crawl it then.
- In Search Console, go to Indexing > Sitemaps.
- Type
sitemap.xmlinto the "Add a new sitemap" field. - Click Submit.
Google does not promise a crawl time, and Shopify says so too. A new store with few inbound links can wait weeks. Check the Sitemaps report afterward: you want a status of Success and a discovered-URL count that roughly matches the number of active products, collections and pages you expect.
You can submit the same file to Bing through Bing Webmaster Tools. Other search engines read the sitemap location too, but they each have their own console.
Where we take the repetition off your hands
Submission is easy once. The pain comes later: new products, replaced photos, seasonal collections and updated pages all need recrawling. Cromojo's Automated Indexing handles URL submission and re-submission for Google, Bing, Yandex, Baidu and AI search, supports bulk URL submissions and sends instant indexing notifications. That means you stop tracking by hand which new pages have been pushed and which have not.
How to check that your images are really indexed
A sitemap that was read is not proof that images are indexed. Use this routine.
Step 1: Inspect one image URL. In Search Console, paste the exact image URL into URL Inspection. Google's help page says to check Crawl allowed, Page fetch and Indexing allowed, and to use Test live URL for current access. If the image sits on a domain you do not own, the same page says to use the Rich Results test instead.
Step 2: Inspect the product page. A non-indexable page drags down its images. Confirm the page returns a normal 200 response, has no noindex tag and carries the right canonical URL. Google's page indexing report help shows how to open an example URL from the "Why pages aren't indexed" table and test the live version.
Step 3: Look at the rendered page. Image files must appear as real <img> elements. Check that a fallback src is set alongside any srcset, which Google recommends for responsive images.
Step 4: Read the right report. Search Console's performance report can be filtered to the image search type. Judge your images by impressions and clicks there, not by one manual search. After you swap a photo, Google may keep showing the older version until it recrawls both the page and the file.
If something fails, the usual causes are:
- robots.txt blocking an image path or theme asset
- a deleted product whose image URL now returns a 404 (redirect the old product URL to a relevant page, then request a recrawl)
- a password-protected or draft store
- images that exist only in CSS
Give a fix time before judging. A store with few inbound links can take weeks to be crawled, and resubmitting rarely speeds that up.
Image SEO that matters more than the sitemap
Google's image documentation reads like a short list of habits. Do these and the sitemap has something worth listing.
Filenames and alt text
Google says the filename gives only light clues, but a name like my-new-black-kitten.jpg beats IMG00023.JPG, and generic names like image1.jpg should be avoided. Shopify's image SEO guide recommends short descriptive names with hyphens rather than underscores.
Alt text is the description attached to an image for screen readers and search engines. Describe what is visible, in plain words: product type, color, material and view. Shopify does not write it for you. Add it in the product's media section. A typical example: "Navy wool crewneck sweater, front view, on a wooden hanger."
Does image SEO on Shopify include alt text and filenames?
Yes. Use short, hyphenated, descriptive filenames and write alt text that describes what the image shows. Shopify does not generate alt text automatically, so add it in each product's media settings.
Size, format and speed
Shopify's guide suggests compressing and resizing images, with JPG, PNG or WebP as common formats and a maximum upload of 20MB. Google notes that images are often the largest contributor to page size, which is why it recommends responsive techniques. Keep these rules in mind:
- Upload a large, clean original and let your theme serve smaller versions.
- Load the main product image right away. Do not lazy-load it.
- Lazy-load images further down the page.
- Set explicit dimensions so the layout does not jump.
Modern Shopify themes usually handle responsive sizes. Custom sections and page-builder blocks sometimes do not, which is where a build done with performance in mind pays off. A bespoke ecommerce web design approach covers performance optimization as part of the build.
Structured data
Shopify says current themes include structured data markup by default, such as price, availability and review information that can feed rich results, so you do not need extra code for the basics.
Wider technical hygiene
Image work sits inside a bigger technical picture: broken links, thin pages, duplicated titles. Running technical Shopify SEO audits alongside your image fixes helps catch the issues that stop pages from ranking at all.
Which images are worth the effort?
Not every image earns search traffic. Shopify's XML sitemap guide says image sitemaps suit image-first sites such as ecommerce, photography and stock sites. For most stores the best use of time is this order:
- Fix the product images that already bring revenue.
- Then fix the ones that rank but do not convert.
- Only then clean up the long tail.
This is where knowing revenue by page matters. Cromojo's SEO Revenue and Revenue Analytics show revenue attribution by keyword, page and channel, with Stripe and Shopify integration. You can see which product pages bring in money from search and put your image work there first, instead of renaming 2,000 files and hoping.
Pair that with Website Monitoring, which watches for downtime, errors and SEO health. A broken image or a page that suddenly returns an error is the kind of problem that quietly erases image traffic.
A worked example
Imagine a store with 400 products. The owner opens sitemap.xml, confirms the products file lists the images, and submits it. Search Console reports Success and 396 discovered product URLs. Four are missing.
The owner checks those four products. Two are drafts, one is not published to the Online Store channel, and one is hidden. Fixing the settings puts them back in the sitemap on the next update.
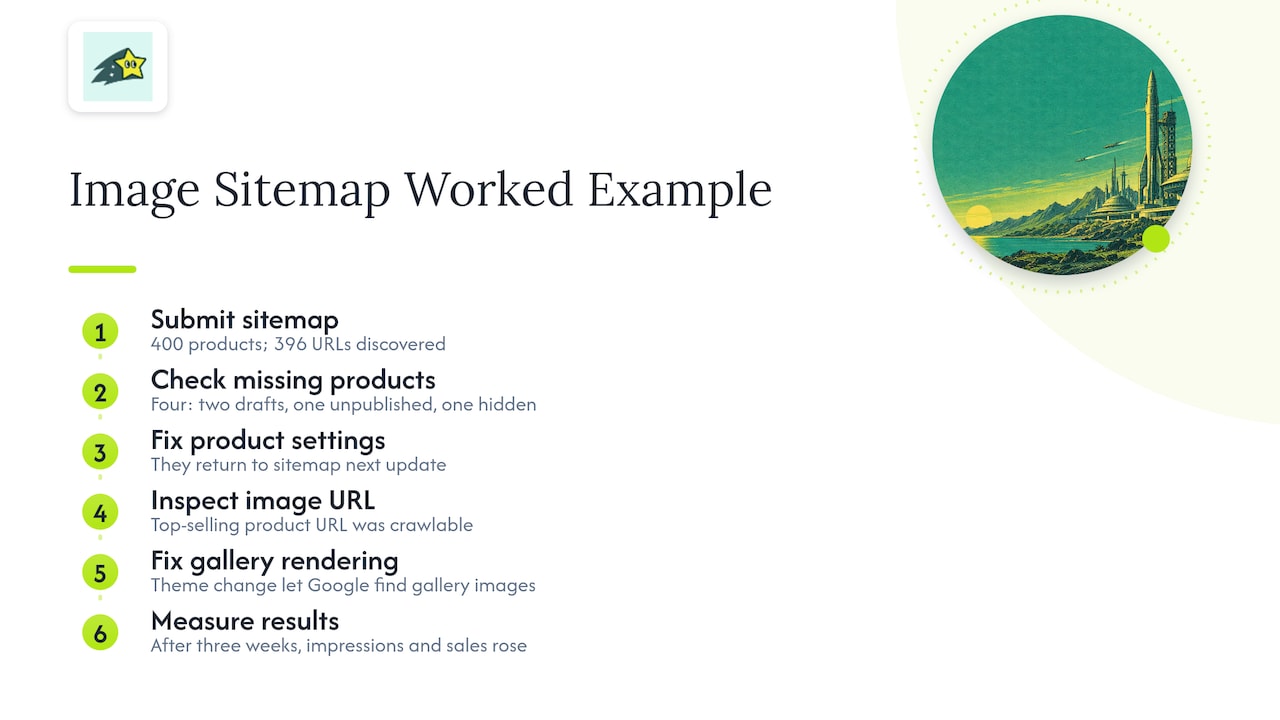
Next, the owner inspects one top-selling product's image URL. It is crawlable and allowed. Then the owner opens the page's rendered HTML and finds that the gallery's second and third photos load through a page-builder block with no fallback src. The theme change is small, and Google can now find those images from the page itself.
Three weeks later, the image search type in Search Console shows impressions climbing for that product. Revenue by page in the analytics dashboard confirms the product's organic sales rose too. That chain, from fix to indexed to revenue, is the one to measure.
Our view on image sitemaps
Most store owners ask us whether they need a special image sitemap. Usually the better question is whether the pages behind it are being crawled, indexed and bought from.
A sitemap only introduces your URLs to search engines. It does not tell you whether a page was indexed, whether it earns anything, or whether a change last month helped. We built Cromojo so that indexing and revenue sit in the same place: Automated Indexing sends URLs to Google, Bing, Yandex, Baidu and AI search, and revenue attribution by keyword, page and channel shows what those pages deliver.
Our tracking is cookieless and privacy-first, and it connects to Shopify, Stripe and Google Search Console without a heavy setup. We believe a small team should spend its week improving pages that make money, not reading sitemap reports.
Put indexing and revenue in one dashboard
If you run a Shopify store, Cromojo gives you revenue-first analytics, automated indexing and website monitoring in one platform. Plans are published on the pricing page: Starter is $19 per month, Pro is $49 per month, Business is $129 per month and Agency is $299 per month, with a Free Plan also available. Billing follows the number of pageviews and tracked sites, with overages charged per 1,000 additional pageviews.
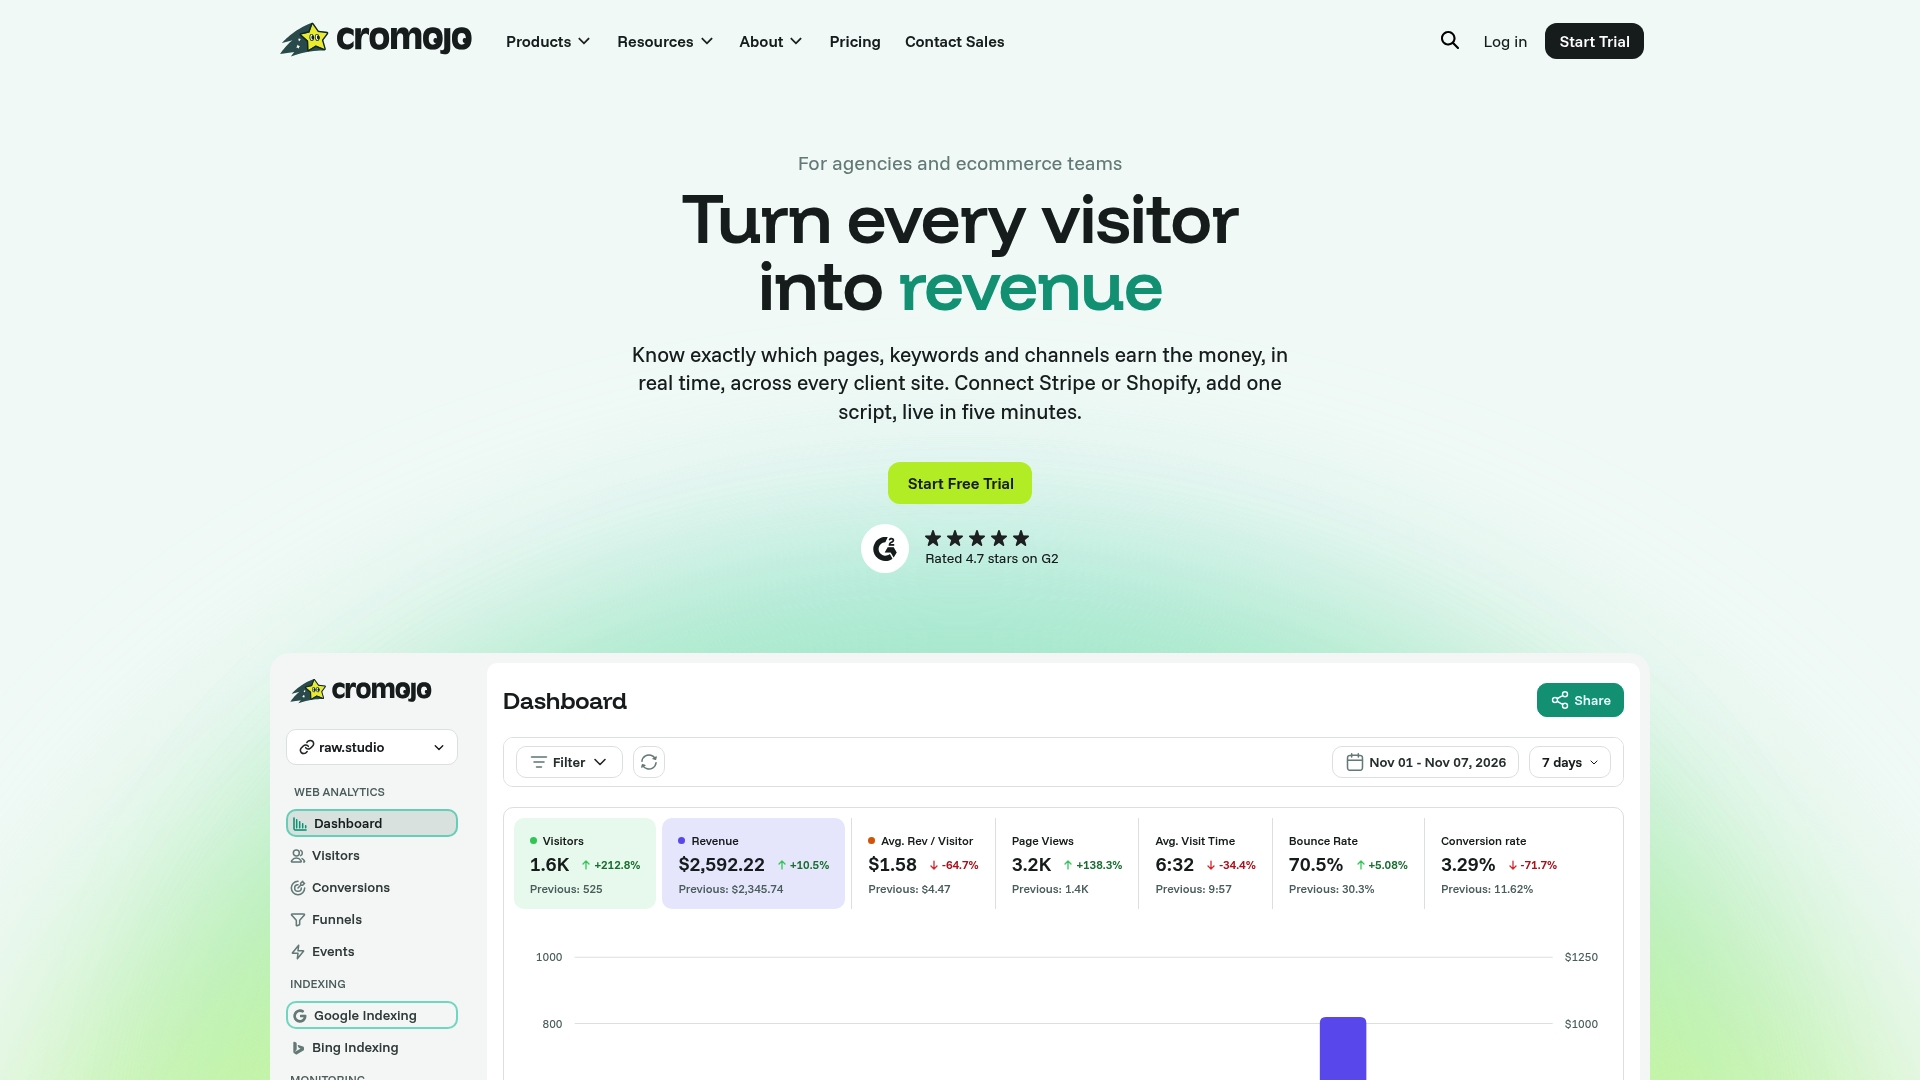
Agencies managing several stores can track each client's site separately, and Automated Indexing removes the manual resubmission work. Start from the Cromojo home page to see how it fits your store.