

Shopify attribution tracking connects an order to the marketing touchpoint that produced it, using session data, UTM parameters, and checkout events Shopify captures automatically. If your reports look off, don't start by picking a new tool. Start by auditing your UTM tags and confirming that checkout events fire correctly on a sample of real orders. Most attribution problems trace back to one of those two things.
What Shopify Attribution Tracking Measures (and Where It Falls Short)
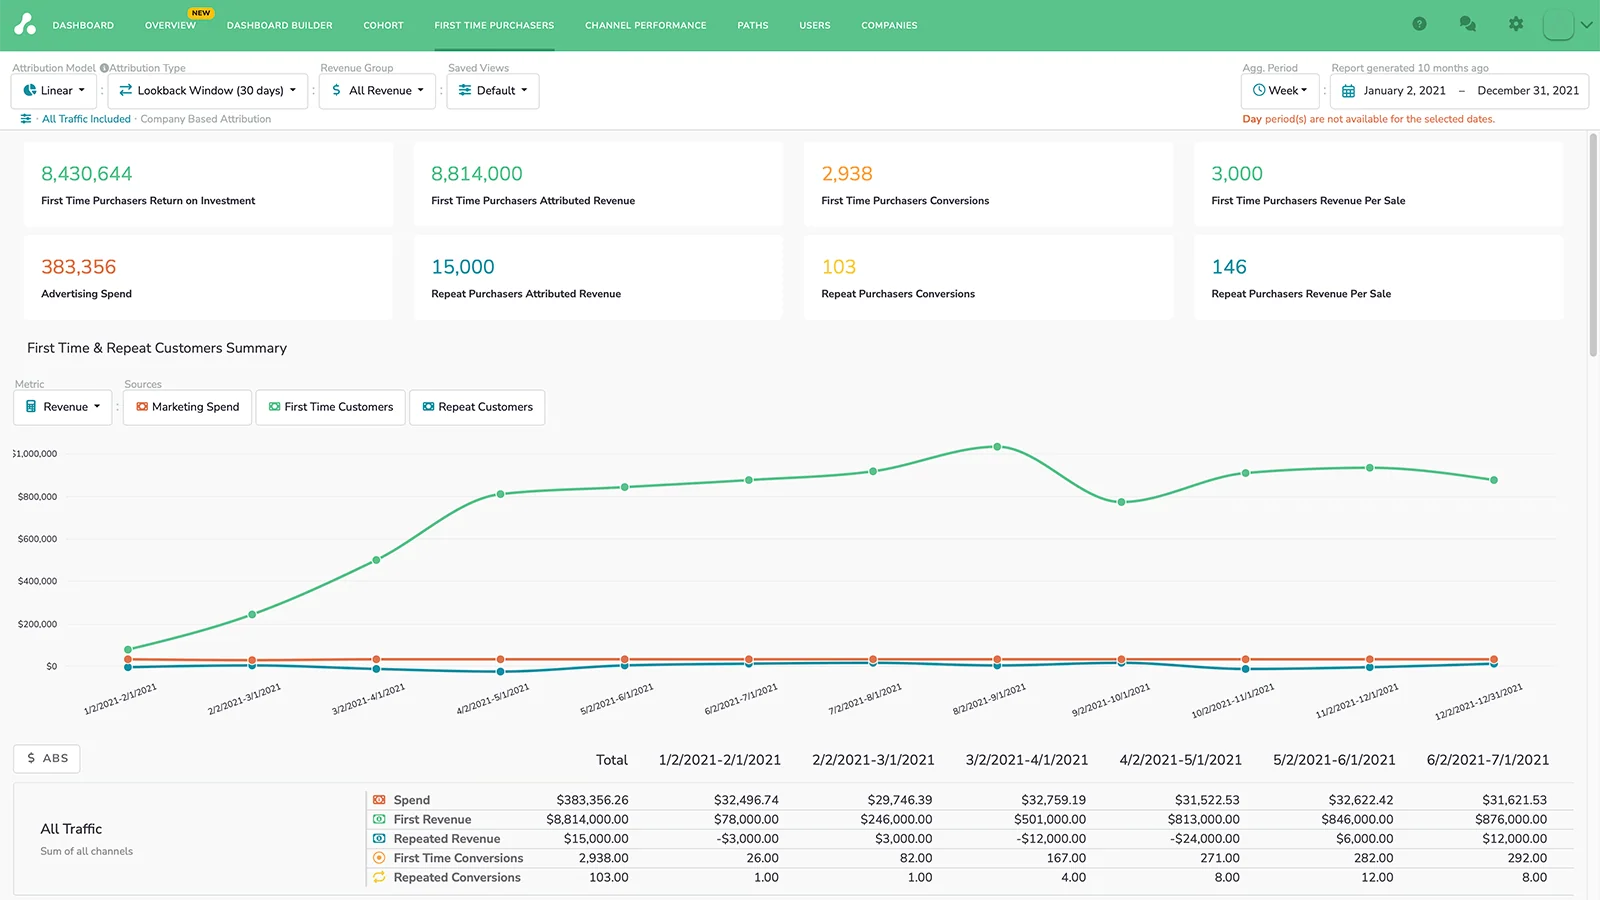
Revenue attribution is the practice of connecting a completed order to the marketing touchpoint (an ad click, an email, a search result) that led to it. In Shopify specifically, this means matching order and checkout data to session referral information and UTM parameters captured when a shopper first lands on your store.
You need this because "traffic" and "revenue" are not the same thing. A campaign can drive thousands of sessions and zero sales, or a handful of sessions and your best month. Without attribution, you're budgeting based on volume instead of outcomes, which is how marketing teams end up defending channels that look busy but don't convert.
That said, Shopify attribution has real limits worth knowing before you trust a dashboard too much:
- Cookie loss: Browser privacy settings and ad blockers can prevent Shopify from capturing session data, which produces a limited order conversion summary instead of a full one.
- Cross-device gaps: A shopper who clicks an Instagram ad on their phone and buys on a laptop later shows up as two disconnected sessions, not one attributed journey.
- View-only ad impact: Someone who sees a display ad but doesn't click, then buys later through a direct visit, gets no attribution credit for that impression at all.
None of this means the data is useless. It means you treat Shopify's attribution reports as directionally accurate, not as forensic proof of every dollar's origin.
Shopify's Attribution Models: What They Do and When to Use Each
Shopify Analytics supports five attribution models, and picking the wrong one for the question you're asking is the single most common reason marketing teams argue over numbers that are technically both correct. According to Shopify's own documentation, the models are last non-direct click, last click, first click, linear, and any click, with last non-direct set as the default for marketing activity data.
Here's what each one actually does:
- Last non-direct click: Credits the most recent marketing channel before checkout, ignoring direct visits. This is Shopify's default and usually the best general-purpose view.
- Last click: Credits whichever touchpoint came immediately before the sale, including direct traffic. Useful for judging closing power, less useful for judging discovery.
- First click: Credits the very first touchpoint that brought the shopper to your store. Good for understanding what generates initial demand.
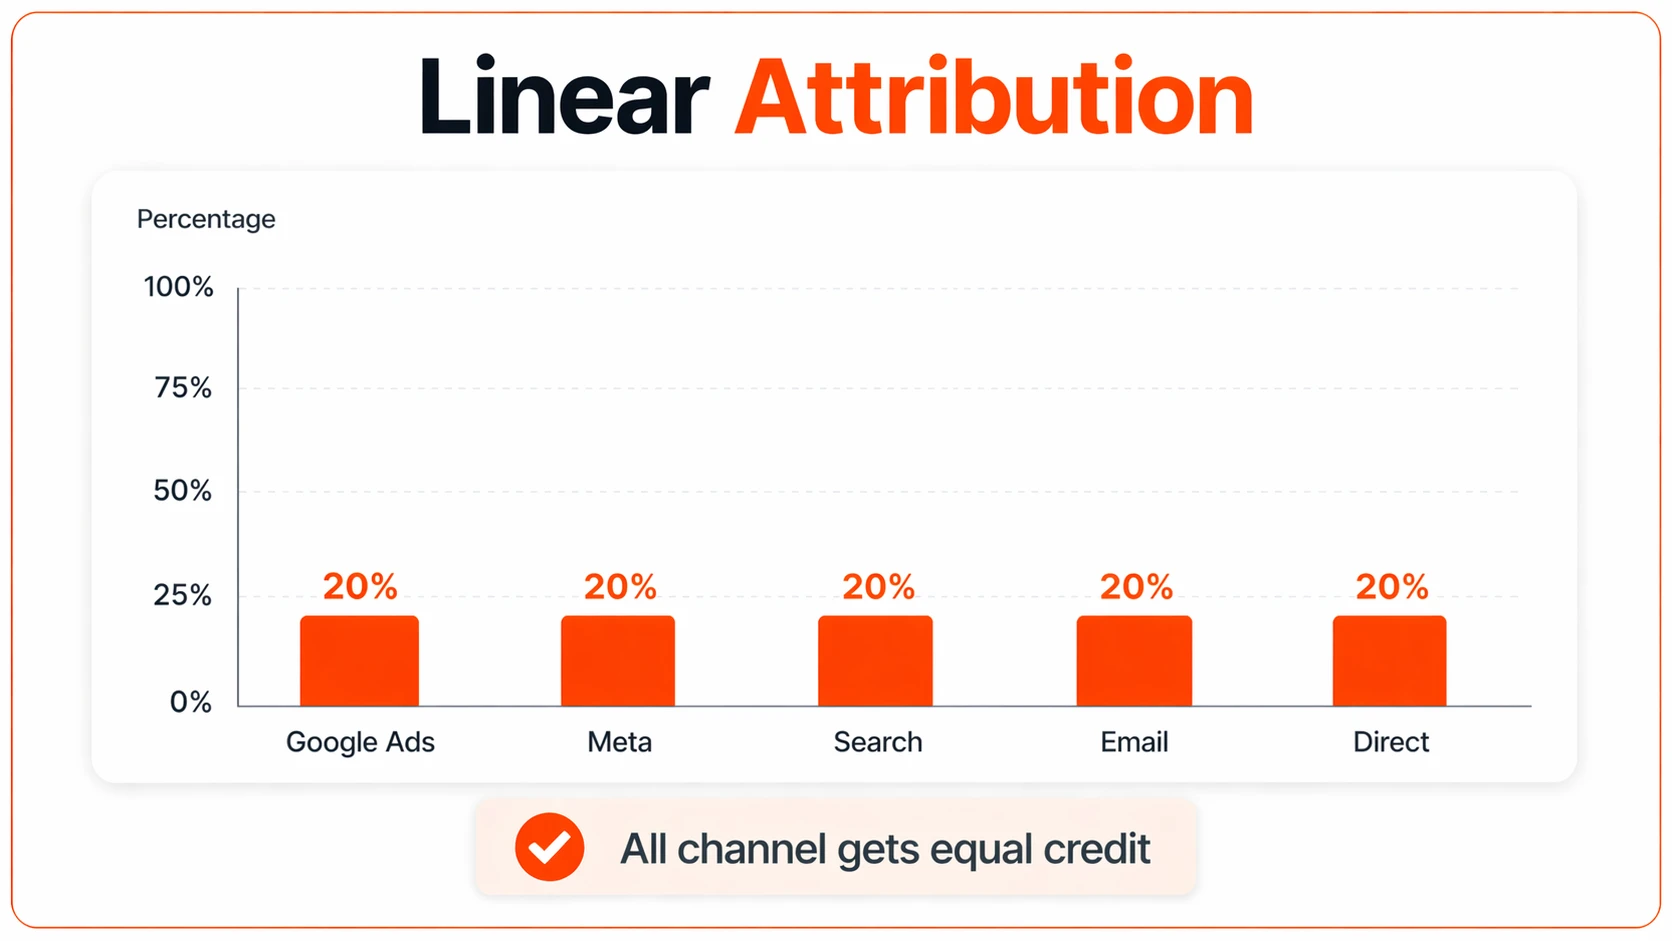
- Linear: Splits credit evenly across every touchpoint in the journey. Useful when you want a balanced view rather than crediting one moment disproportionately.
- Any click: Gives full credit to every channel a shopper touched, regardless of order or recency.
Pro Tip:Never sum revenue across channels using the "any click" model. Because it assigns 100% credit to every touchpoint a shopper interacted with, the totals aren't additive; a single order can show up fully credited to three different channels at once, which inflates your combined revenue picture if you're not careful. Use any click for participation checks (which channels touched this customer at all), not for calculating channel-by-channel ROI.
Shopify added linear and any-click models to marketing reports specifically to let merchants check channel participation and allocate credit more evenly, according to the platform's changelog. If you're only ever looking at one model, you're only ever answering one kind of question.
Where to Find and Configure Attribution Settings in Shopify Reports
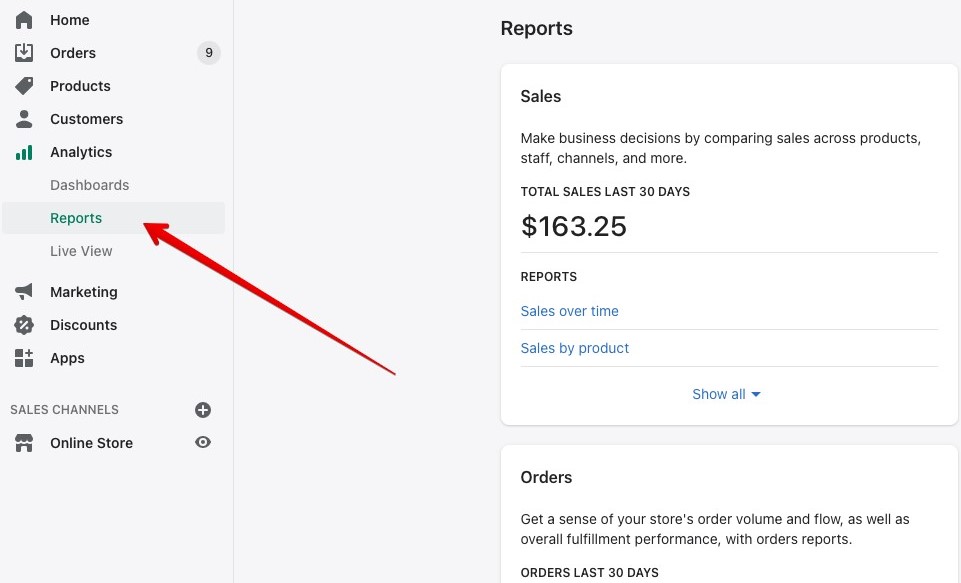
The attribution model selector doesn't appear on every report. It only shows up when a report combines a sales metric with a marketing dimension, like referring channel or campaign name. Here's how to get to it:
- Open Analytics > Reports in your Shopify admin and select a report built around marketing performance, such as "Sessions by referrer" or "Sales by UTM campaign."
- Look for the attribution model dropdown near the top of the report. It only appears when the report structure supports it (sales metric plus channel or campaign dimension); if you don't see it, you're likely looking at a report without a compatible metric pairing.
- Toggle between models to see how the same revenue shifts depending on how credit gets assigned. Watch for wide swings between last click and first click; that gap tells you how much of your funnel depends on discovery versus closing.
- Compare four metrics side by side: sales attributed to marketing, sessions, return on ad spend, and average order value. Sales alone won't tell you if a channel is efficient; ROAS and AOV will.
Running this check monthly, not just when something looks wrong, catches drift before it turns into a budget mistake.
Core Setup Checklist: UTM Governance, Pixels, and Consent-Aware Tracking
Reliable attribution starts before a single order comes in. It starts with how you tag links and how you capture events at checkout. Skip this step and no amount of dashboard toggling will fix inconsistent data.
- Standardize your UTM vocabulary. Pick one casing convention (lowercase is easiest to enforce), one naming structure for source/medium/campaign, and one list of approved values. "Facebook," "facebook," and "FB" will fragment your reporting into three separate rows instead of one clean channel. Shopify's own guidance on marketing attribution treats consistent UTM tagging as foundational, not optional, and it's worth reading alongside a dedicated UTM naming guide before you roll tags out across a team.
- Instrument checkout events properly. Use Shopify's Web Pixels API to subscribe to standard customer events, including
checkout_completed, and route that data to a server-side destination when you need more reliable first-party tracking than browser pixels alone provide. - Build in consent awareness from day one. If you use Google's ecosystem alongside Shopify, Consent Mode lets tags send cookieless signals and use modeled conversions when a shopper denies analytics consent. Label those modeled numbers separately from directly observed ones in any report your team reads, because blending them quietly makes your data look more precise than it is.
- Test the edge cases, not just the happy path. Verify that
checkout_completedfires correctly through accelerated checkout flows (Shop Pay, Apple Pay), post-purchase upsell pages, and failed-then-retried payments. These are the exact scenarios where events silently fail to fire or fire twice.
Pro Tip:Run a test order through every checkout path you offer, accelerated and standard, at least once a quarter. A pixel that fires perfectly on a standard checkout can silently break the moment a customer uses Shop Pay, and you won't know until your revenue numbers start drifting from what your ad platforms report.
None of this is glamorous work. It's also the difference between a dashboard you trust and one you quietly stop looking at.
Order-Level Audit: A Step-by-Step Routine to Validate Attribution on Real Orders
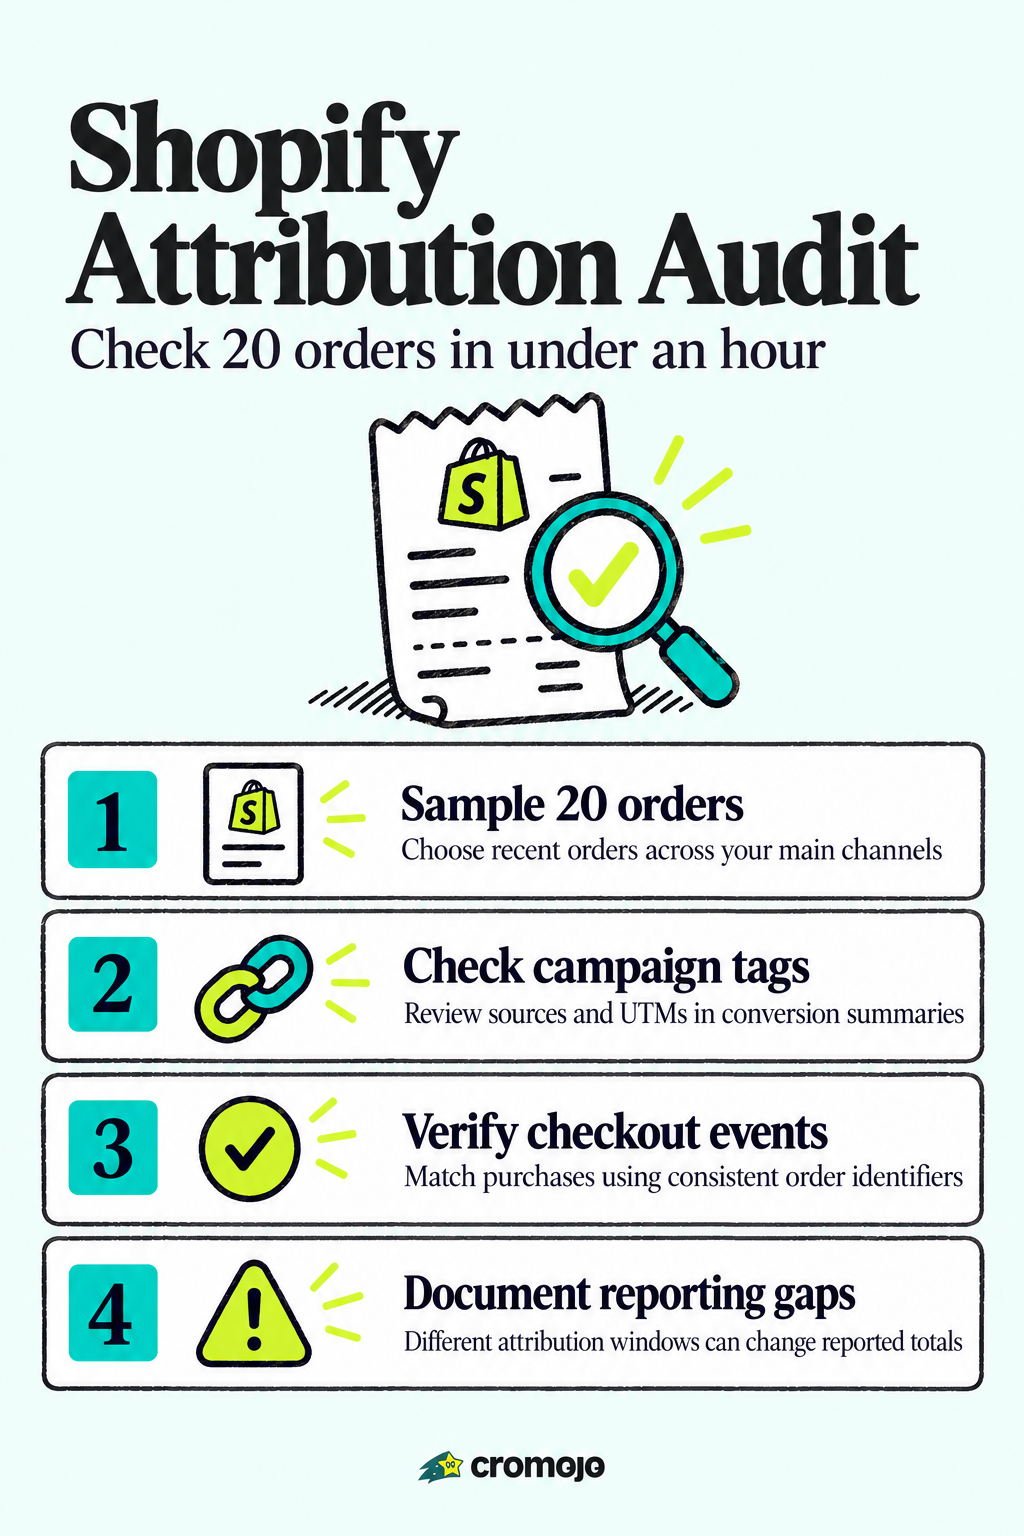
Dashboards hide problems that individual orders reveal immediately. Once a month, pick 15 to 20 recent orders across your top channels and run this routine:
- Open each order's conversion summary and check the session referral source, the UTM parameters attached, and any app details listed. A full conversion summary means Shopify captured the visit; a limited one means it didn't.
- Cross-reference each order against your ad platform's reported conversions and your GA or BI tool's numbers for the same date range. Deduplicate by checkout or order ID, not by timestamp, since timestamps drift across systems.
- Flag any order showing a limited conversion summary and note why: blocked cookies, a headless storefront checkout, or a shopper who cleared their browser data mid-session. These aren't bugs to panic over; they're expected gaps you document and track over time.
- For orders with missing or mismatched UTM data, trace it back to the source: was the campaign link tagged incorrectly, or did the pixel fail to fire?
The fix depends on what you find. A UTM mismatch means updating your tagging templates. A pixel failure means re-instrumenting through the Web Pixels API or adding a server-side event as a backup. Either way, this 20-order sample takes under an hour and catches problems weeks before they show up as a mysterious dip in reported ROAS.
Reconciling Shopify With Ad Platforms and GA: Why the Numbers Never Match Exactly
Your Shopify dashboard, Google Ads, Meta Ads Manager, and Google Analytics will almost never report identical revenue for the same campaign, and that's expected, not a sign something's broken. According to Shopify's attribution guidance, these gaps usually come down to a few consistent causes:
- Different attribution windows: Google Ads might use a 7-day click, 1-day view window by default, while Shopify's last non-direct click model looks at the full session history without that same time cutoff.
- Identity matching differences: Ad platforms rely on their own pixel-based identity resolution, while Shopify ties orders to sessions and UTMs captured directly on your storefront.
- Modeled versus observed conversions: Platforms using consent-mode-style modeling fill gaps with statistical estimates, which Shopify's session-based approach doesn't do.
- Event deduplication gaps: A single purchase can get counted once by a pixel and once by a server-side event if you're not deduplicating on checkout ID.
Rather than chasing a single "true" number, match your source of truth to the decision at hand. Finance teams reconciling revenue should trust Shopify's order data. Campaign managers optimizing bids should trust the ad platform's own reporting for that platform's spend decisions. Anyone running a genuine test should use GA or a BI tool where you control the definitions. Document which system owns which decision, align attribution windows where you can, and keep your reconciliation logic in one place, ideally a BI tool, rather than re-deriving it from memory every time someone asks why the numbers don't match.
Choosing an Attribution Model for Your KPI: A Short Decision Framework
Match the model to the question, not the other way around:
- Measuring acquisition or demand generation? Use first click. It tells you which channels actually introduce new shoppers to your store.
- Measuring closing efficiency? Use last click. It shows which touchpoint tends to seal the deal.
- Measuring overall channel influence? Use last non-direct click, Shopify's default, which filters out direct visits that don't explain how someone found you.
- Want a balanced view across the whole journey? Use linear, which splits credit evenly rather than over-crediting one moment.
- Checking which channels touched a customer at all? Use any click for participation checks, never for adding up channel revenue.
Before reallocating budget based on any model switch, run a 30 to 90 day comparison first. A single week of data under a new model can look dramatic and mean nothing. And whatever you decide, date and version your reports; when a model change or seasonal shift makes older comparisons look inconsistent, having a timestamped trail saves you from re-litigating decisions you already made for good reasons.
Publisher Perspective: How Cromojo Implements Revenue-First Shopify Attribution
Cromojo approaches this problem from the revenue side rather than the traffic side. The platform connects directly to Shopify and Stripe, matching real orders to the pages, keywords, and channels that produced them in real time, instead of waiting on a batch report to catch up days later.
Two design choices matter for the reconciliation work described above. First, Cromojo uses cookieless, first-party event capture, which sidesteps much of the cookie-loss problem that produces limited conversion summaries in Shopify's native reports. Second, automated indexing and site monitoring run alongside the attribution layer, so a technical issue (a broken checkout page, a de-indexed landing page) surfaces as part of the same dashboard instead of a separate SEO audit weeks later.
None of this replaces the audit discipline covered earlier. It removes some of the manual reconciliation that discipline requires.
Perspective: Treat Attribution as an Operating System, Not a Single Metric
The mistake most teams make isn't picking the wrong attribution model. It's picking one model, trusting it permanently, and never auditing it again. Attribution isn't a report you check once; it's a system that needs an owner, a recurring cadence, and a habit of comparing models instead of defending one.
Give someone on your team explicit ownership of a monthly order-level audit and a quarterly UTM cleanup. Put the comparison dashboard in front of whoever makes budget calls, not just whoever built the tracking. If you do nothing else this week, run the 20-order audit described earlier. It will tell you more about your actual attribution health than another month of watching a dashboard you already suspect is wrong.
How Cromojo Can Help You Skip the Monthly Reconciliation Headache
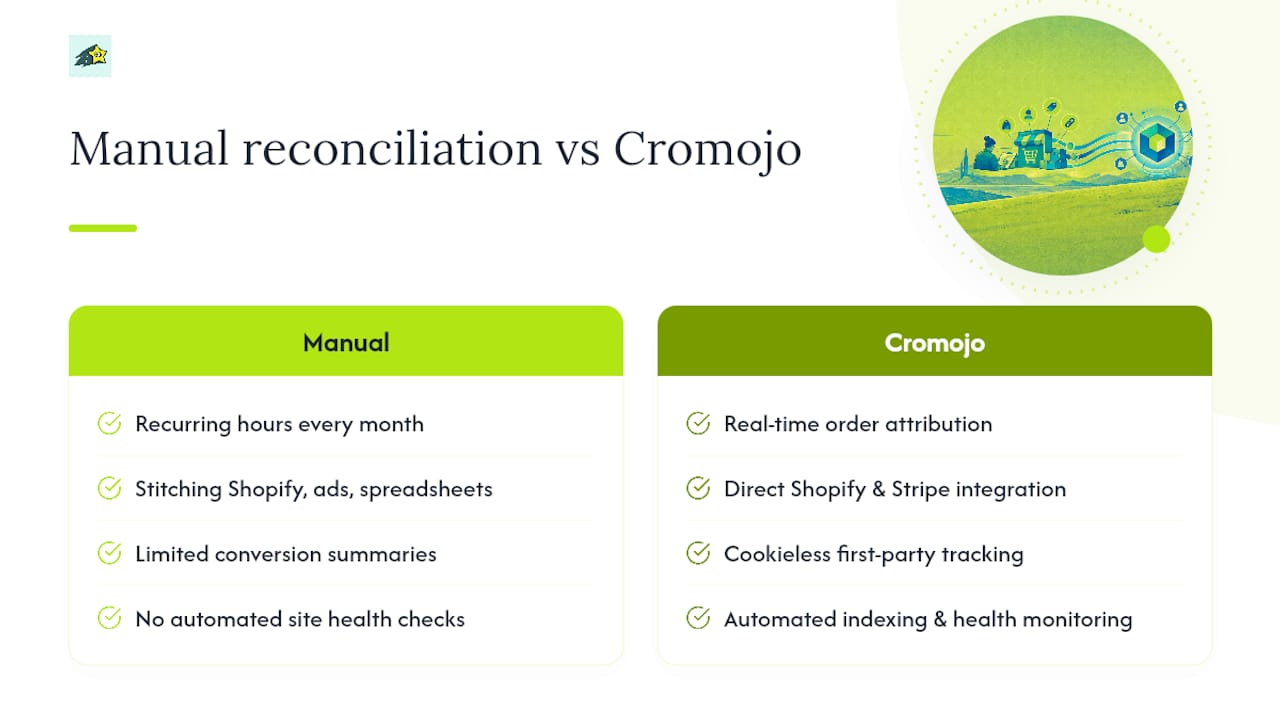
The setup checklist and order-level audit above work, but they take recurring hours every month if you're stitching together Shopify reports, ad platform exports, and a spreadsheet by hand. Cromojo is built to shrink that work by tying orders directly to the marketing touchpoints that generated them, in real time, without the cookie-based tracking gaps that produce limited conversion summaries in the first place.
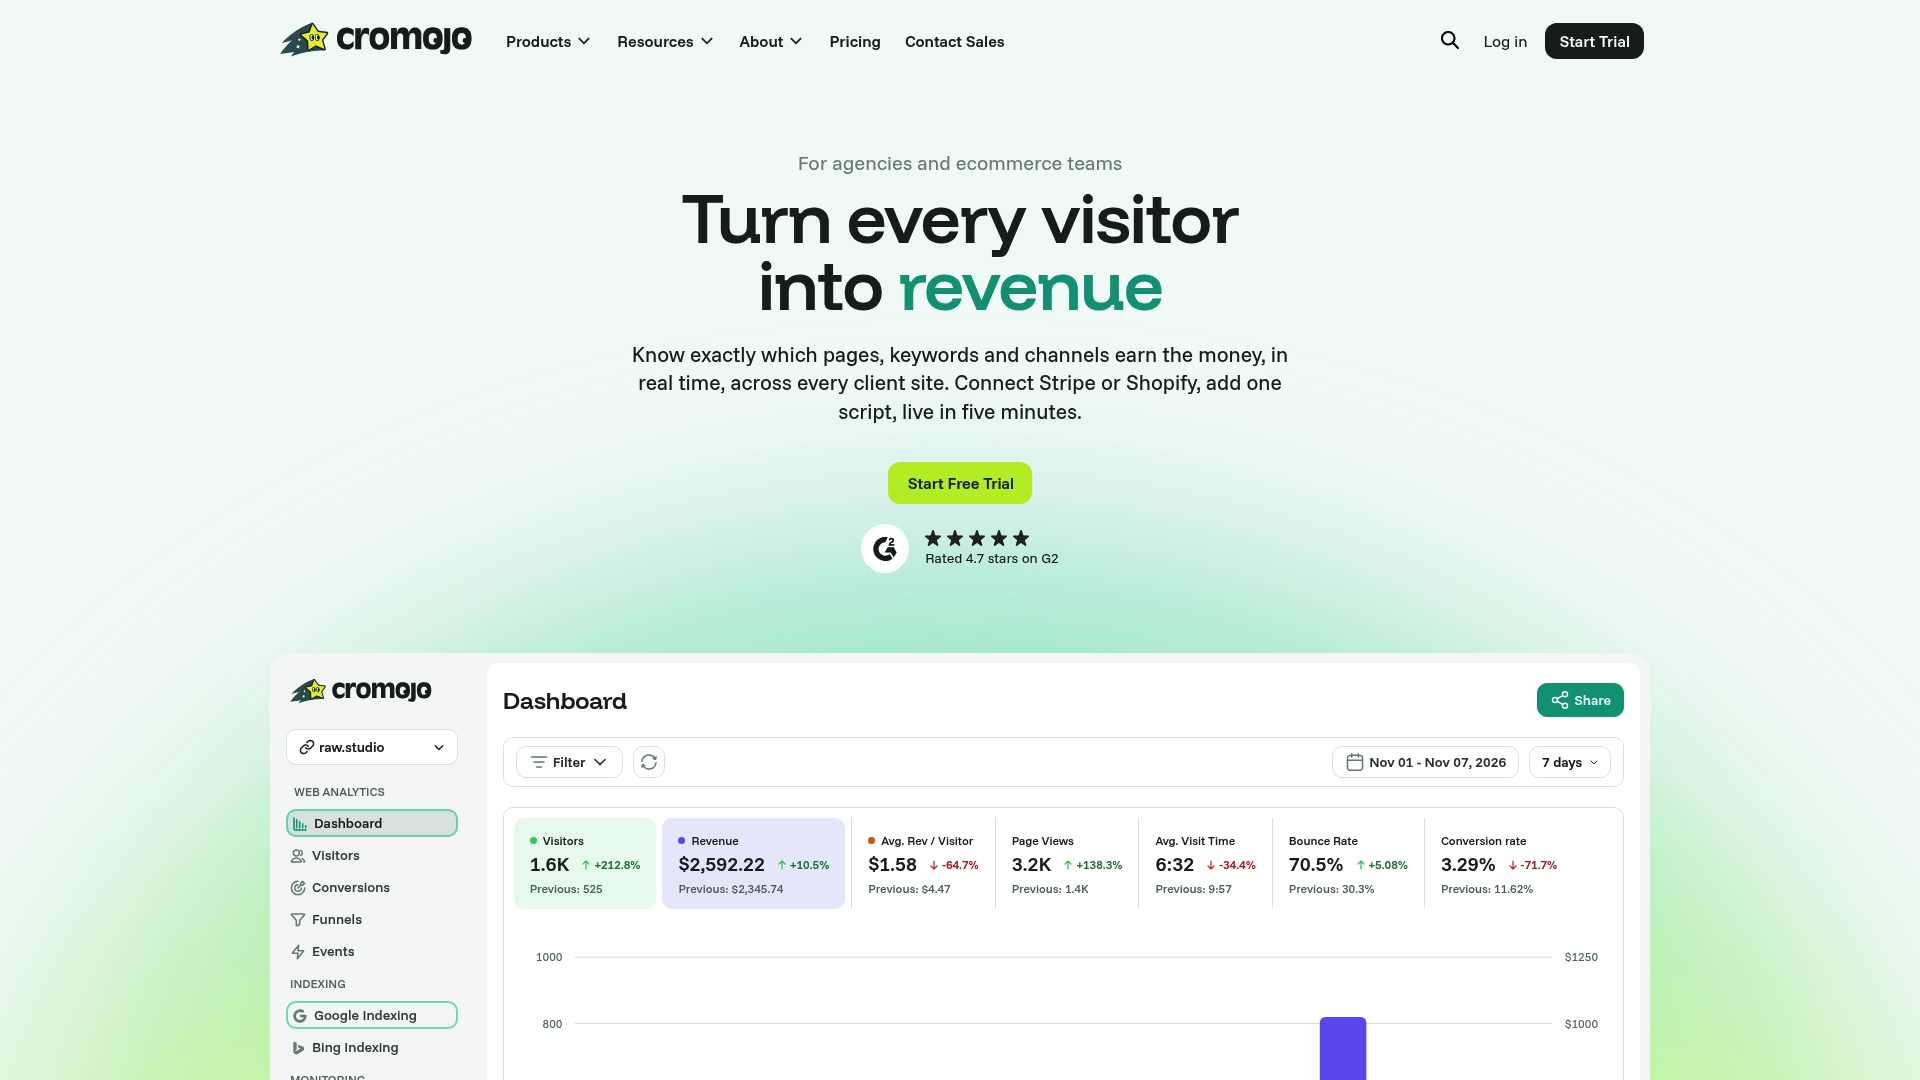
With direct Shopify and Stripe integration, Cromojo shows you which pages, keywords, and channels actually generate revenue, not just traffic, using cookieless first-party tracking that holds up better against consent restrictions. Automated indexing and site health monitoring run in the same platform, so a broken checkout or a de-indexed page shows up before it quietly costs you a week of attributed revenue.
Plans start at $19 a month on the Starter tier, scaling up through Pro, Business, and Agency tiers depending on your traffic and site count. Setup is a lightweight script, not a development sprint, so most stores are collecting real-time revenue data within a day. If your team manages CRO work alongside attribution, Cromojo's Conversion Optimization Services start at $3,800 a month for hands-on support. Check the pricing page to find the plan that matches your order volume and get your Shopify store connected.